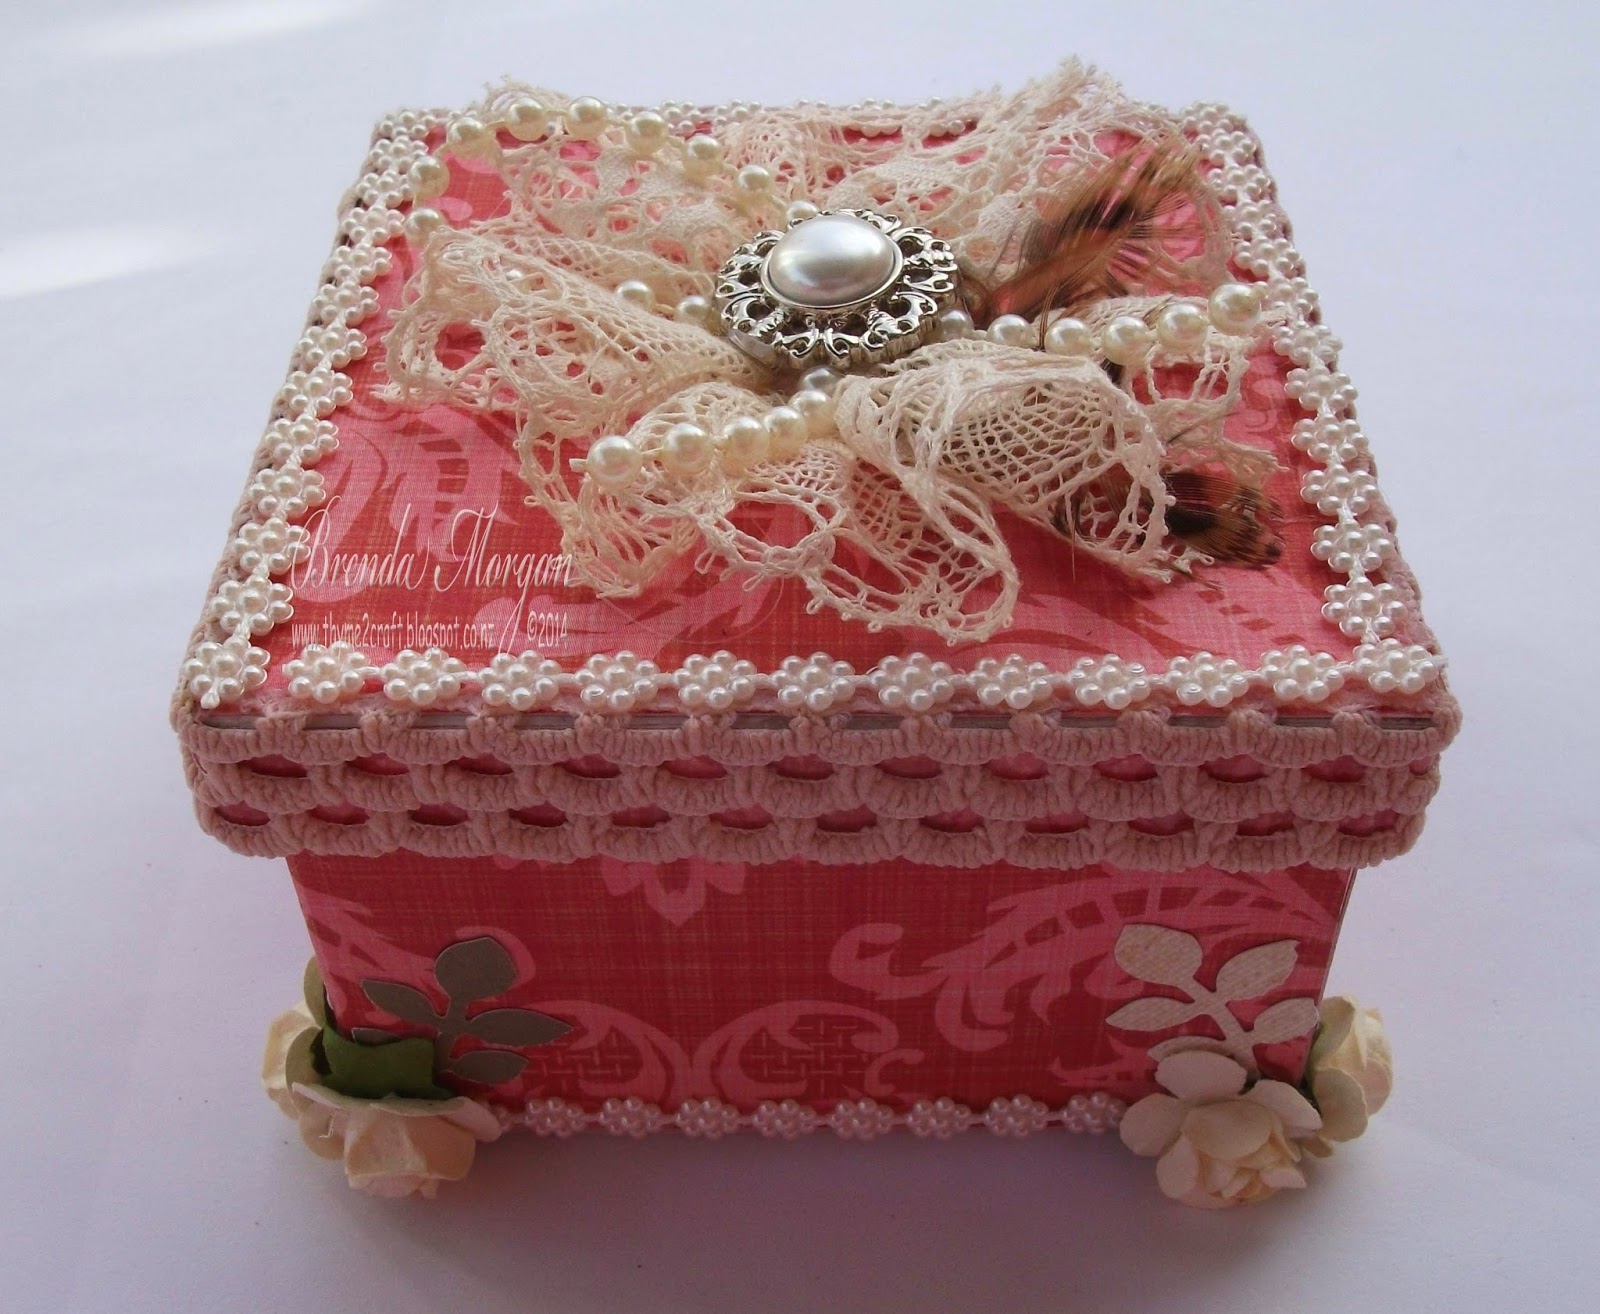
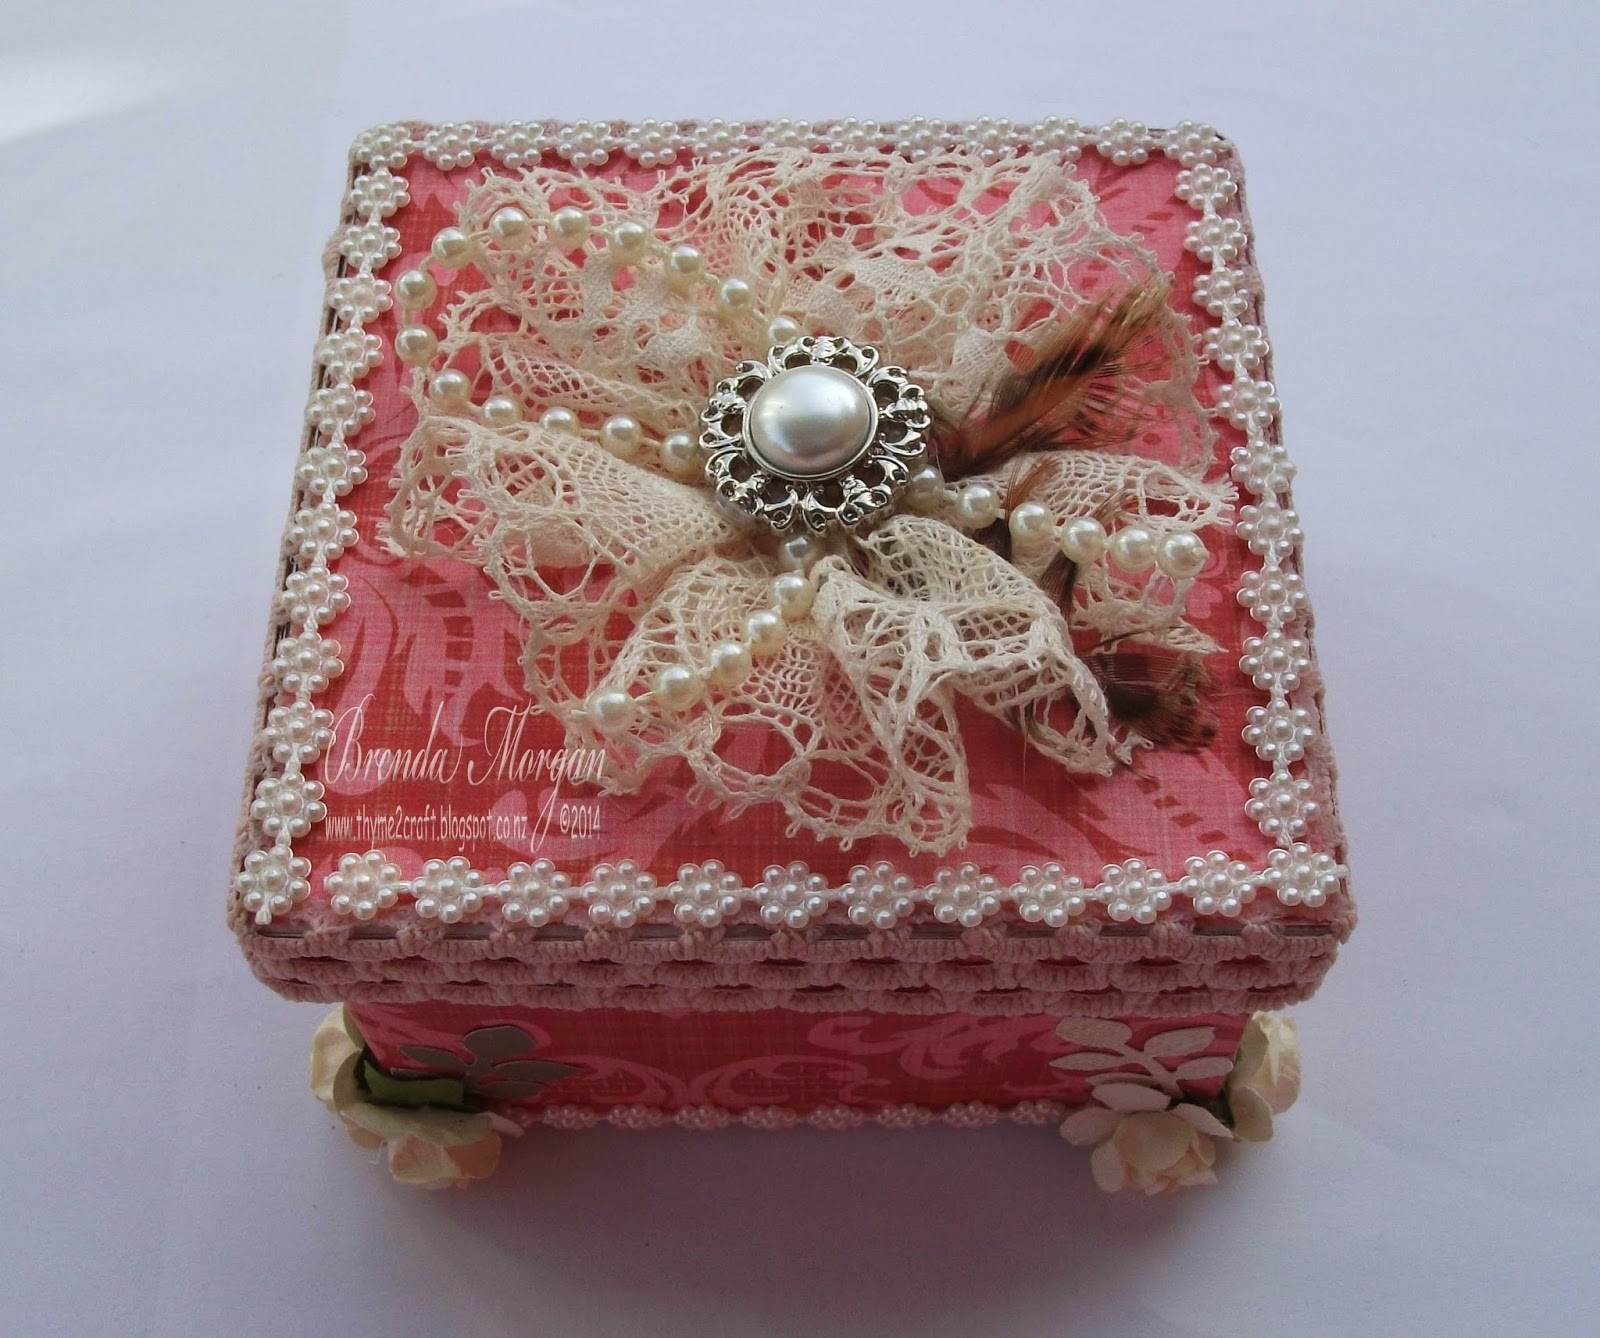
Creating these little gift boxes is such a fun way to send off that little something special. Both these boxes I'm sharing today are going to special people who deserve 'just a little bit more'.
This first box is my entry into the August I am Roses whose theme this month is 'anything goes' and 'make something special for someone'. How could I resist?
I love the vibrance of these colours, and the special person who is going to receive this was especially interested in the zipper flowers I have created, hence having one as the centrepiece. There is also more partially finished zipper flowers inside along with a very detailed tutorial, so I'm sure she can now learn to make her own. The I am Roses products I have used here are 1. daisy, 2. mini roses & 3. buds.
The recipient of this 2nd box is waiting for a recipe from me, so she is getting a sample as well as the recipe in this little keepsake box. This is just a little thank you for the lovely afternoon and evening we spent at her hubby's recent birthday.
The paper I've used here is gorgeous, and used together with the pearl trim & flowers is perfect for the more mature lady I think. I also made the lace flower on top. I hope she likes it.
Thank you for visiting. Wish me luck for the challenge as I would sooo love to win some of their gorgeous blooms, they are so versatile, I love to use them on everything I make.
Monday, 18 August 2014
Sunday, 17 August 2014
Colourful Beach Hop
This weeks creation for Imagine if . . is anything goes as Jo and her team of helpers are busy moving into the new shop following a 2nd really successful craft show (she does nothing the easy way, lol). So to carry on with her theme of 'painting' I thought I'd show you the MDF Art Box I've made up.
This was such a fun project to work on, and allowed me to share my other passion with you all, yes I am a petrolhead.
The MDF box comes in pieces and is assembled very easily as shown
I covered the base & outsides with embossed aluminium foil before painting each section with Lumiere Metallic Acrylic, this is a gorgeous, luxurious paint to use. I love the finish I've achieved.
Now for the real fun part. I have so many photos taken at the Beach Hop - a Rock'n'roll & Hot Rod week held annually at Whangamata, which we've attended nearly every year since buying our Dodge. It was a shame to cover the awesome background, so I've kept the colours true as best I could, and showing off the embossing where I could.
I've used lots of gorgeous Imagine if . . chippies here. The words & small cogs were heat embossed, chicken wire & banners were painted, lamp post was covered with embossed aluminium foil, while the quote was inked. These flowers & leaves are also now available. A few trinkets just finish the whole thing off nicely.
This has been a real fun project to tackle, I now wonder where this will live . . . in the man cave perhaps ? ? ?
Sunday, 10 August 2014
Cheeky Monkeys
Gee where has this last week gone, here we are again, time for another blog hop with Imagine if . . where this time the prize for visiting all the DT's and leaving a comment is 2 sheets of quotes of your choice. These are an awesome prize, very versatile, I use them on everything.
My layout this week is sadly a rush job as I was working on the wrong project, and didn't find out my mistake until Thursday night. I hope you can't tell I struggled for inspiration. This week Jo wanted us to showcase her awesome stencils of which I only received earlier in the week. These are awesome, and who can't use more stencils?
a Rafflecopter giveaway
My layout this week is sadly a rush job as I was working on the wrong project, and didn't find out my mistake until Thursday night. I hope you can't tell I struggled for inspiration. This week Jo wanted us to showcase her awesome stencils of which I only received earlier in the week. These are awesome, and who can't use more stencils?
I started with a Donna Salazaar paper and firstly using the bubble stencil I added some texture paste on both sides of the photo, I also inked thru the same stencil randomly around the page. Next came the wording stencil inked around the edge, very apt for the photo I think. I then added a bit of subtle colour by sponging ink on random places. The cogs were heat embossed, monkeys got painted then flocked, bird on top was glimmer misted. I've used another of the new zipper flowers I have just learnt to make. Finally to use the 3rd stencil required I inked on some birds
The page feels quite strange to me, I'm not sure whether its the pale colours I've used, or whether its just the fact that I didn't have too much time to think over things. Anyhow it has all come together quite nicely and shows off the photo well.
If you are following the blog hop correctly you would have come to me after visiting Jo, and now to continue on your way the next stop is Lilian. As usual please leave a comment here and every stop to be in with a chance to win the lovely prize. Good luck.
a Rafflecopter giveaway
Monday, 4 August 2014
Bottoms Up
Here's a fun layout I've done as part of the Creative Dreams August challenge. The requirements were: 1. Green, 2. Use some Imagine if . . chipboard, 3. Recycle something.
1. Green is easy, 2. as I have just been making some fun zipper flowers I decided they could be my recycled items, and 3. of course being on the Imagine if . . design team I am lucky to have lots of gorgeous chipboard to play with.
I love the grungy look of this Kaisercraft 'Basecoat' paper which I've distressed & stitched the edges, randomly stamped & used some homemade texture paste through TCW stencils. Behind the embellishments I've also inked thru Imagine if stencils. These fun photos needed a bit more colour to be introduced so I've layered these coloured bits on top of some doilies.
This little reed chipboard from Imagine if . . is stunning, I've painted it with about 4 different browns & greens, then glued micro beads onto the seed heads. I love the outcome, and have perched the small bird on top. More birds are used also, with one sitting on the lovely little branch, which was painted after I added some texture paste.
The zipper flowers have been fun to make, follow the link to my tutorial here. Also used are I am Roses & Dusty Attic blooms.
This has been a great chance to use this fun photo taken on a recent holiday to Australia of these cheeky parrots having something to eat from a feeding station.
Thank you Jules for offering the challenge, I can't wait to see what everyone else comes up with.
This has been a great chance to use this fun photo taken on a recent holiday to Australia of these cheeky parrots having something to eat from a feeding station.
Thank you Jules for offering the challenge, I can't wait to see what everyone else comes up with.
Sunday, 3 August 2014
Hearts, hearts & more hearts
Wow another month starting already, so now its time for our first blog hop at Imagine if . . . This month will be a lot easier on us all now with all the pressures of SENZ over, even tho Jo is exhibiting again at the Quilt & Craft Show at Hamilton, so she has given us 'free rein' to create whatever we wish. This layout has been created for our friends' daughter who recently got married.
a Rafflecopter giveaway
These photos were all 'pinched' off facebook and sadly are not the best quality, so I decided they would be best shown off as this mosaic of shots rather than using one or two not so good photos. The couple were married on Anzac Day in Cornwall Park, so I tried to use lots of elements from the day in my layout.
They loved all the stone walls where they had a lot of their photos taken, so accordingly I've started my page with a Kaisercraft Basecoat paper. With the paper being so dark I found I needed to outline the heart shaped photo mosaic with the boldness of a wide black border. The doilies and lace lighten and lift the page as well. The bouquets were made up of dried hydrangea, dotted with red roses and all tied together with black organza ribbon, here I have copied this as best I could. I've carried on the heart theme with Imagine if . . hearts of differing sizes & patterns, which were all faux stitched. The title also includes lots of hearts, which have all been finished with a coat of Glossy Accents. The large 'double heart' matches the wedding invites as best I could.
Enjoy the close ups of the flowers which were painted to match, and you can see the stitching and glossy finish of the hearts.
I am really privileged to do this keepsake for the family and hope they are can amicably decide who gets to keep it, be it the brides parents or the bride & groom.
So how are you all going through the blog hop? You should have come to me directly from Ngaere, then leave here following my link back to the beginning which of course is Jo. I hope you've enjoyed the diversity of all the creations and as always please leave a comment at all blogs to be in with a chance to win this weeks prize which is 2 packets of felt flowers.
a Rafflecopter giveaway
Saturday, 26 July 2014
Zipper flowers
I LOVE trying out new techniques and projects, and my latest conquest is one I've been practising on and off for some time now. I know I've still got to practice more before I'm completely happy with everything, but here's my first real efforts worth sharing.
I made these zipper flowers each out of a 7" zip. The pink ones are mostly stitched, whereas the black is mostly hot glued. I followed these excellent instructions on You Tube, for the pink ones here and the black here. I'll be using the 2 pink flowers on my current project, and the black one has been made into a brooch for a friend as below. Instructions to attach the pin are included in the pink tutorial.
I hope you have found this helpful and would love to see your efforts also. I'm now off to try some multi-coloured flowers or perhaps a butterfly or dragonfly.
As always have a happy scrappy day, and please leave a comment.
Tuesday, 22 July 2014
July IARDC
Time for another challenge at I am Roses where this month they've asked for something to be recycled, along with their regular criteria of using a minimum of 2 of their gorgeous products. Here I've recycled an old CD, attaching it to a chipboard key from Imagine if . .
To start I covered the CD with old book paper, then attached the little chipboard house (again from Imagine if . .), the lettering followed then the gorgeous flowers.
The IAR flowers I've used are Daisies, carnation, mini rose (which I sprayed with Dylusions Ink Sprays to get the vibrant violet), little S10 blooms & of course the buds (again touched off with Ink Spray).
The key was painted brown then I heat embossed it with TH Distress Embossing Powder, which I then inked. The pearls then link everything together. This measures 9" x 3" so will look very nice hanging on my wall.
Thank you for visiting, and please have a happy, scrappy day.
Sunday, 20 July 2014
Fairies that sparkle at night
How's everyone handling this colder weather? After last weeks extreme wet & wind its been a blessing having these days of clear skies, even though it means really cold nights and mornings. However I have been inspired to get stuck into some more crafting rather than get cold and wet being out in the garden.
.
a Rafflecopter giveaway
.
Todays project is for the 2nd Imagine if . . blog hop for July and is something I've been working on for some time on & off. When Jo sent out her gorgeous fairies to us I really struggled for inspiration (as I live in a house full of males). Then wedding photos on facebook from a friend gave me an idea to be a bit cheeky.
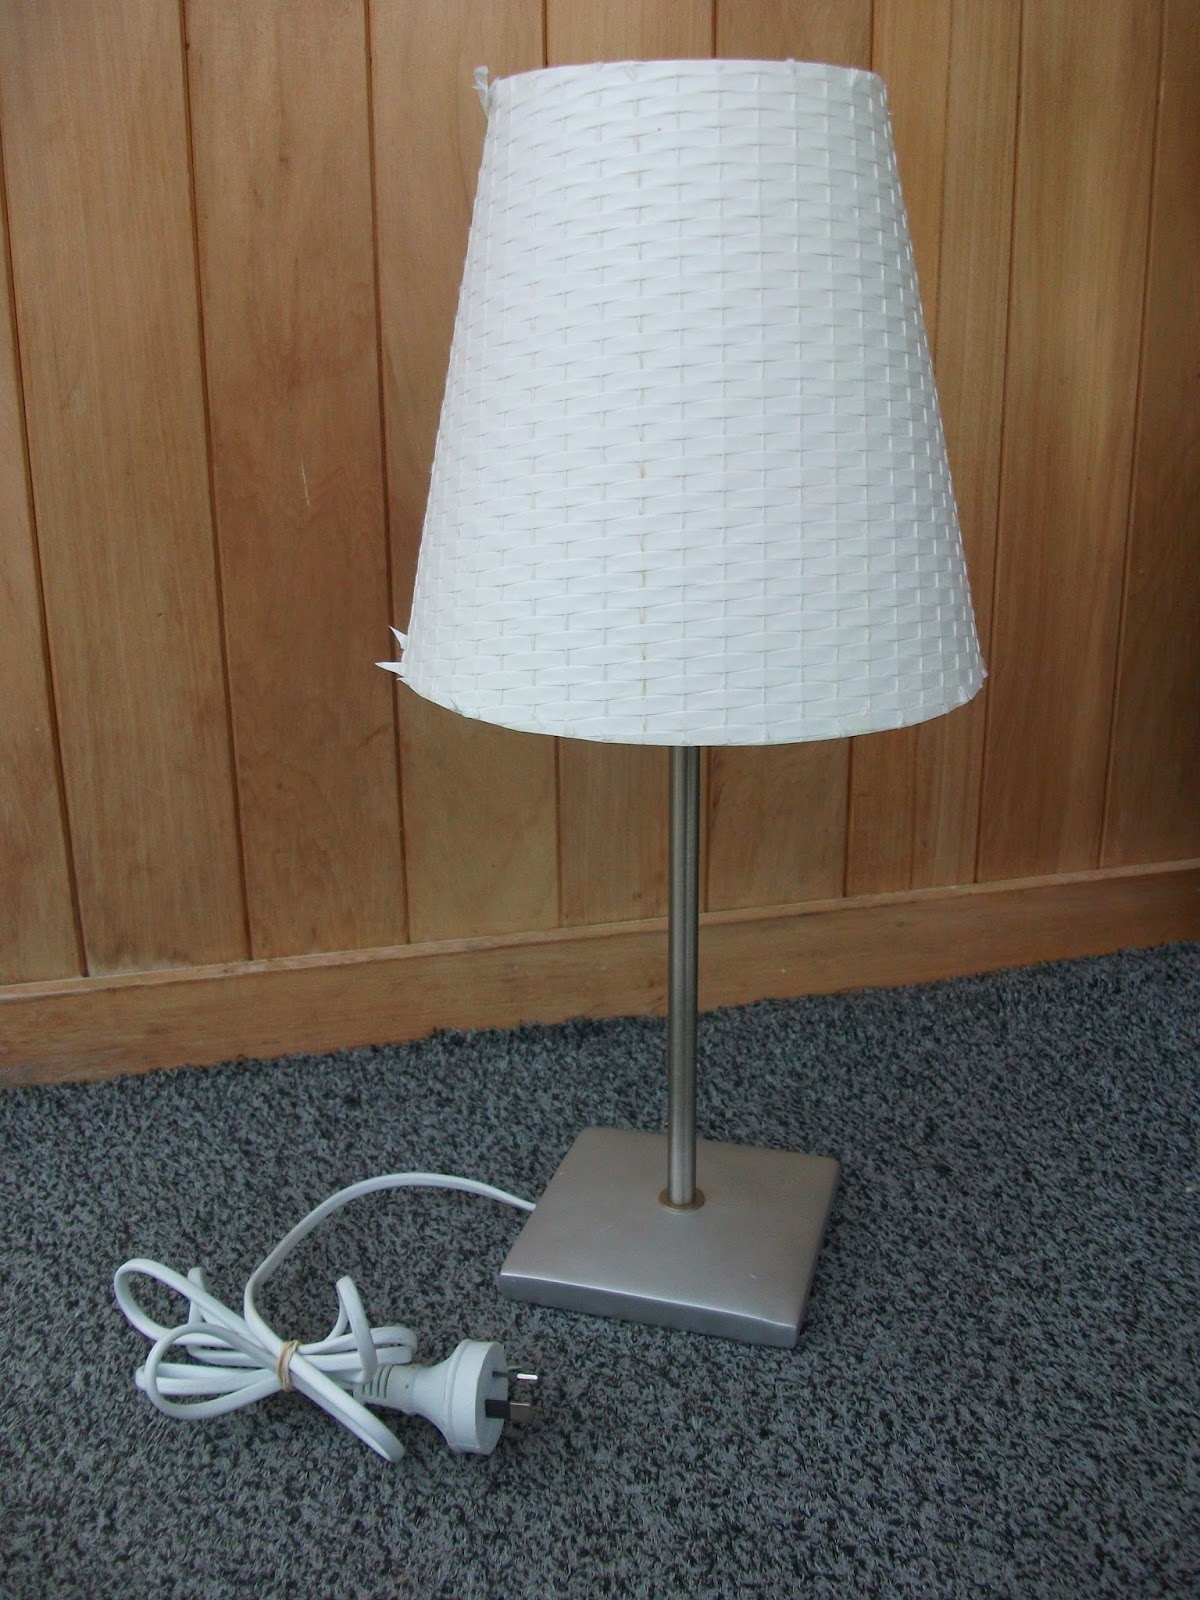
While still searching for ideas I came across this very tired and dated table lamp at the local SPCA second hand shop, so at only $8.00 I thought I'd try to recover it and go from there. This fabric is off white with a slight zig zag pattern on it. The sequinned trim 'pretties' up the edges without being too much. I HATED the square base so I had to create this round one to match, also covering with the same fabric & trim. The beaded trim dangles look gorgeous in real life and as seen above really sparkle when the light is on.
This is when my cheeky plan came into play. Debby is a friend of mine and coincidentally she is also a fabulous artist (visit her facebook page here) AND grandma of 2 little girls, so I asked her if she would paint these fairies in return for the lamp when it was finished. How could she resist such a great offer? I LOVE her efforts, she has painted everything then lastly added sparkle with Stickles. All were then carefully shaped then glued into place.
Lastly I had to create the 'flower garden' on the base. These are more of my satin roses, you can find a tutorial here.
So if you are following this blog hop correctly you should have started with Jo, and come through the ladies, and visiting Carol before me. Next stop is to hop over to see what Lilian has in store for you all. As previous blog hops, just leave a comment at all sites to be in with the chance to win. The giveaway this week is two new chipboard clock cutouts and a set of keys (something I don't even have yet).
Good luck and thank you for visiting.
a Rafflecopter giveaway
Sunday, 13 July 2014
Kiwiana brag book
Here we are again with our first blog hop for Imagine if . . since the great success of SENZ. I believe all who attended had a great weekend. I really enjoyed wandering around all the stalls and spending all my money, but mostly meeting some of my fellow crafters for the first time and also catching up with old faces.
Again follow through our blog hop where you should have started with Jo telling you about all these awesome creations ahead of you. Remember to leave a comment here and at every other blog you visit for a chance to win a small prize of amazing Imagine if . . products
Today I'm sharing with you a favourite little brag book I make quite often, featuring lots of the smaller kiwiana pieces (chipboard & felt) made by Imagine if . . which I will be sending over to friends in the UK.
a Rafflecopter giveaway
Again follow through our blog hop where you should have started with Jo telling you about all these awesome creations ahead of you. Remember to leave a comment here and at every other blog you visit for a chance to win a small prize of amazing Imagine if . . products
Today I'm sharing with you a favourite little brag book I make quite often, featuring lots of the smaller kiwiana pieces (chipboard & felt) made by Imagine if . . which I will be sending over to friends in the UK.
This little book measures 4" x 4", and has fabric covered chipboard covers. I have found fabric is much more durable than paper, although you can use paper if you wish.
Cut your fabric about 4.5 - 5" square, then glue to the chipboard.
Cut 3 8" squares of cardstock. Fold in half & score then open out, turn once clockwise then fold in half & score again, open out again (folded into quarters), now turn cardstock over and fold in half diagonally & score ONCE ONLY. Do this to all 3 pieces of cardstock.
Once you have all the lines folded & scored punch ONE corner only with a corner punch, of the outside corner of the unfolded quarter on 2 pages only. This will help all the folds fit together more snuggly when putting the pages together.
Arrange the 3 sheets as the photo, overlapping an unfolded quarter on each page. Glue together with a strong glue. There's no reason why you couldn't add more pages if required at this stage.
Now fold the pages back down into its 4" square concertina fashion.
Before attaching the covers consider how the book is to be securely closed. I generally attach a length of ribbon (or similar) to the inside of the back cover, then glue both covers to the cardstock pages with a strong glue. The ribbon then ties around the front in a bow.
Then decorate away. For this book I have used a lot of different kiwiana pieces, some appropriate sayings from the quote sheets and lots of lovely pictures from travel books to showcase our gorgeous country. In other books I have used patterned papers, photos, recipes, verses, even small embellishments like charms, tags, flowers etc.
I hope you can understand my instructions, if you have any problems please leave a comment & I'll try to help you out.
Next stop on the blog hop is the awesome creation made by Beth, go visit her from here, leave another comment and you're in with another chance to win.
a Rafflecopter giveaway
Thursday, 3 July 2014
Love our Dog
Time for another new challenge at Southern Girls Challenge where the theme this time is 'You spin me right round baby' (circles). Straight away I thought of using circle shaped photos, and then the rest just grew from there
I started with a Heartfelt Creations paper where I've distressed the edges, then lots of texture was added using 2 different TCW templates. A bit of ink was rubbed under the larger stitched circles, then I just stitched the smaller circles to match in the corners. The awesome little dogs, chipboard word & lettering come from Imagine if . . .
This closeup shows the lollipop flowers (yes, more circles) with the clear beads in the centres. The satin fabric I've used was different thickness, hence the different effects I've got when heating the edges.
This has been a fun page to make, especially when I realised that I haven't actually made a layout since the last SGC layout I made 6 weeks ago. I've been too busy doing OTP creations for SENZ, which is finally upon us this weekend. I hope some of you can make it and go and see some of my work, and that of the other awesome designers at the Imagine if . . stand.
Thanks for visiting, please leave a comment, as I will when I visit your entry into this challenge. Lets see what you can all do with circles. Good luck to you all.
Subscribe to:
Posts (Atom)