Sunday, 9 November 2014

Watch out here comes Santa

The blog hop this week for Imagine if . .   is more xmas fun, with the 2nd half of the DT (including me) showing you our sleighs, while the other girls have had fun making xmas cards.

I assembled the MDF pieces firstly, then painted everything black.  Once that was dry I gave it a good coat of my new favourite product Crackle Medium, then followed with the red paint.
 
I just love the effect of this crackle medium.  

 
The reindeer are xmas tree decorations, who are doing a stellar job 'pulling' the sleigh.
 Presents galore, again some are just xmas tree decorations, while others are Imagine if . .  chipboard pieces, painted and coloured.

 
Thanks for visiting, if you are following the blog correctly you would have come here after visiting Carol's sleigh and to keep on track keep going to visit Tash with her amazing sleigh.
 
Let us know what you think by leaving a comment, we've all had fun making these, why don't you try.  These and lots of other xmas goodies (MDF, chipboard & felt) are all available from Imagine if . .  and all are proudly NZ made.

Sunday, 2 November 2014

Meeting Santa

Oh dear everyone is now starting to talk about Christmas . . . . I am not even in that mind set yet.  So when I received my latest pack of goodies from Jo at Imagine if .    I had to quickly put my denial aside, grab the bit between my teeth and embrace the fact that there's only 2 months left till the end of yet another year.  Jo has sent us all lots of xmas goodies to show you all, so get ready to be 'wowwed'.

I've started off with a xmas layout using a lovely photo from last xmas, showcasing the awesome chipboard 'Santa's sleigh and reindeer' pieces.

 
I started with a Kaisercraft Christmas Basecoat paper, then layered on lots of gorgeous G45 Twelve Days of Christmas papers, following this sketch which was the October LO sketch challenge at Artfull Crafts  (which I entered AND won)
 
 
As I am no artist I simply gave the chipboard a weathered, aged look using a fab new product I've come across 'Ceramcoat' Crackle medium - I LOVE IT, and its so easy to use.  Watch out you will be seeing a lot more of it in the future.


This flower stalk is a gorgeous Prima product which I beheaded, then painted to suit.  The little cones I found on the roadside, have been painted, then finished with a bit of gold stickles which sadly is not showing well in this photo.  The large flower is from BoBunny.  All the different layers were hand stitched as well.

If you are following this blog hop correctly you should have come to me from Carols awesome xmassy layout and next follow this link to visit Tash with her gorgeous creation

Monday, 27 October 2014

Let's Upcycle

Time for another blog hop with Imagine if . .  and for this week Jo has left it open and has allowed us to do anything we please.  If you are following the hop correctly, you should  have come to me from Katrina's  awesome creation,

 This has been a great chance to do a bit more with my storage boxes, as I have planned to ultimately have all boxes looking pretty - yeah right ! !  I store my individual and random papers by colour and decided to paint several pizza boxes for the job, to be decorated as time permitted.  So here is my first decorated box.

 
This box obviously is for all my green paper, so I wanted everything to be differing shades of green.  I started by covering the box with scraps of green papers, then added some texture by using texture paste through several different templates, added random scraps of laces, dry wall tape, & random flowers.  These were all gesso'd, then all was coloured with various layers of green paints, Dylusions ink sprays & Lindys stamp gang sprays.  The grey Prima flowers were painted, then sprayed; the old black flourish with black felt flowers were painted, the quote was distressed then inked to match as well.  The peacock feathers add a bit more dimension and interest as well. 
 
When it was all assembled and glued down I thought it would look great with a face in the middle, so if you look carefully you will see I've inked thru one of the Imagine if . .   face stencils.  Sadly with all the texture and with the flowers already attached its hard to see, but I wasn't brave enough to use a stronger colour incase it didn't look good.
 
Here is how it now looks back on the shelf with the other plain boxes, you can see why I've decided to 'pretty' things up a bit.

 
Next stop on your journey through the hop is Carol where she is also touching on the subject of storage.  I hope our ideas give you inspiration to sort out your own collections.


Sunday, 26 October 2014

Treats for Halloween

Halloween is upon us again, so I've been busy preparing some wee bags of treats for the visiting kids.  Also this months challenge at I am Roses is for an altered bag, using orange & black, so doing these bags was a no brainer. 

 
The three I am Roses products I've used are Daisies, cherry blossoms, carnations and buds.  As my supplies are very limited I've coloured some of these blooms with Dylusions Ink sprays, which is super effective, and very easy to do.  I've also used feathers, cheese cloth & wool to give some texture.
 
Now I'd better get busy and make some less feminine bags for the boys.

Sunday, 19 October 2014

a Stitch in Time

Is it a canvas? is it a book? . . . No . . . its a sewing kit.
For this weeks Imagine if . .     post I've been busy putting all the pieces together and created a wee surprise out of Jo's hollow book.


I struggled at first for inspiration on this project, but once the ideas came I was away laughing.  After all these pieces were sorted, the fun began.
  
 
First the cover was created, using some sticky back canvas as the hinge.

 
Then I attached lots of die cuts (recognize these Ngaere??), used several stencils with texture paste, then painted it all with several colours with Lumiere paints.

 
All the embellishments were then mostly hot glued in place before getting a coat of gesso to seal them all.

 
Most of the bigger embellishments then received a coat of a very dark purple (yes scary I know) just to give them a solid base, then several layers of different colours were added until I was happy with the end results. 
Products used were: Lumiere Metallic Acrylic - Pearl Turquoise & Grape
                                 Folk Art Acrylic Paint - Heather
                                 Lindy's Stamp Gang - Starburst, Azure Sea Asters
                                 Viva Décor Inka Gold - Platinum
                                  Rub'n'buff - Gold leaf
 
I created the 'page' effect by adding book paper and scraps of lace between the chipboard 'pages'.
 
Enjoy more closeups of the embellishments.


Lots of Imagine if . .  products have been used in this, from lettering, random chipboard, felt flowers, stencils, quote from quote sheet, words.  All these products are available from the website and now can be found in several shops around New Zealand along with their very own new shop in Morrinsville.
 
Thanks for visiting, I hope my work inspires you to go forth and create something similar.


Sunday, 5 October 2014

We are Family

Another busy week  has been had by us all yet again, so instead of a blog hop as we usually do just follow the links at the top of the Imagine if . . home page.

This week we are all showing off the new range of frames, and from what I've seen before this has even gone live . . . WOW . . . there is some amazing work being done.  As I'm now really busy at work I've stuck with something fairly simple, which I'm sure showcases the Imagine if . .  products well.

 
Lately I've been spoilt with lots gorgeous photos, which are usually mostly 'girly', so I'm loving this chance to show off a male page. 
Another Kaisercraft paper has been used, this one is from the 'Honey Chai' collection and is a lot bluer than the photo is showing.  I've distressed, inked & stamped the background, then underlayed some burlap & fluffy trim.  I've used 2 Imagine if . .  frames on this lovely 4" x 6" photo, which were firstly embossed to give a bit of texture, then painted, inked then finished with some crackle accents (they look great in person).  Cogs and arrows add more 'male' items to the page.

 
And lastly, no matter how hard I try I just can't seem to do a page without using some flowers.  I love this big blue Bo Bunny bloom, it works well with the I am Roses daisy and the whole colour theme of the page.

Thanks for visiting, please take a look at what the other DT ladies have created for you also, you'll be amazed, and also check out all the gorgeous products now available on the Imagine if . .  website.  As always your comments are greatly appreciated.

Sunday, 21 September 2014

The Beauty of Nature

Time for another blog hop with Imagine if . . where this week we are celebrating the glory of nature.  Hopefully after starting with Jo you should have followed thru the hop reaching Katrina before me.  Here I am sharing a stunning photo I took some time ago early in the morning showing how the spiders webs glisten while covered with dew.

 
Here is yet another Kaisercraft 'Basecoat' paper (gotta love these), which I distressed & inked heavily, then splattered with pink paint, & randomly stamped.  Corrugated cardboard, painted washi tape & strips of random papers underlay the photo.  

 
I love this large Bo Bunny flower, also I am Roses daisy, while the smaller red flower & leaves are available from Imagine if . .  .  The quote was distressed, then inked.
 
 
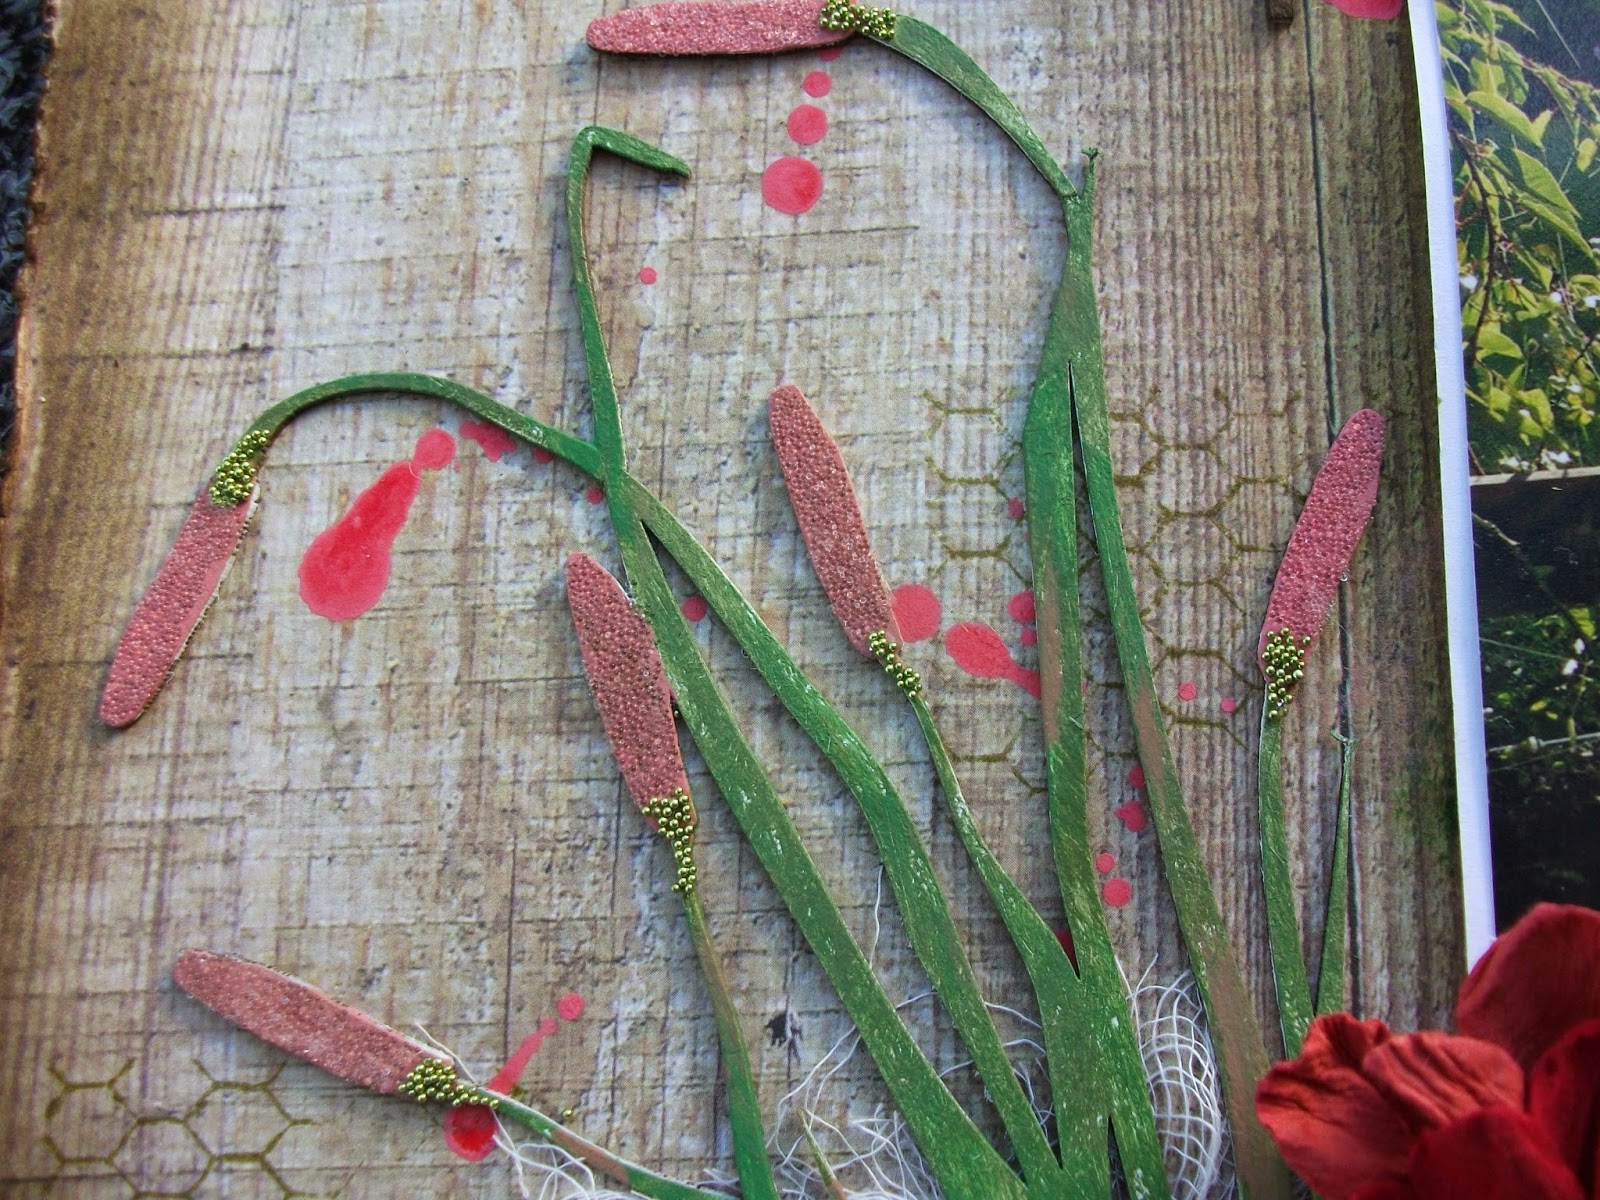
The netting has been inked, the grassy reed painted, then I attached more micro beads, then softened by placing muslim underneath.  The face & birds nest are lovely little treasures that add more interest.

Next on your journey you will find Beth with her lovely creation.   If you've not ventured there yet, have a look at all the gorgeous products Imagine if . . has to tempt your creative juices as well.   As usual please leave a comment.

Monday, 15 September 2014

Feathered friend

This week Jo from Imagine if . . wanted us to create  masterpieces on her oversized chipboard tags.  I just LOVE the fancy top she has on these, really elegant.  After much deliberating I came up with this, not too far off my original idea of going steampunk, but hey what the heck, when an idea comes its always easier to go with it rather than try and stick  to the plan.

 
I started with these yummy coloured paints and 'splotched' layers of the first 4 colours onto the tag. 


Next I used the bubble stencil with the grape paint (yes very bold I know).  When the grape was dry I 'bumped' the stencil and applied the sage over top.  Then when that layer was dry the whole tag got a really good sanding to show off the underneath layers and to soften and blend everything.  I LOVE this effect.  I learnt this technique from a video I watched on  Art of Craft.  I then inked the edges & drew on some faux stitching.
 
 
 I really didn't want to cover my painted finish, but that wasn't enough. Before applying anything I randomly stamped with a small script stamp.  Next I painted this birdcage/dress form, then inked & stamped and finished it with crackle paint.  'FLY' was created using TH alpha tiles, then I added a quote from the 'Wings and Things' quote sheet, which was distressed and inked.  These mini roses & leaves are also available from Imagine if . .  
 
I'm very pleased with how this has turned out, and LOVE this technique.  I'm sure I'll be using it again.
 
Have you visited my fellow designers yet, as usual we have all created something totally different to each other, I'm really loving being part of such a talented, versatile group.  Please leave a comment, I love to hear your feedback.

Sunday, 7 September 2014

Giftbox for Marian

Todays creation is a challenge Jo put to the DT.  She supplied us all with 9 MDF squares and told us to 'go forth and create'.  I can't wait to see what the other girls come up with, something fabulous as usual I expect.  Again we are doing a blog hop which as usual starts with Jo,  you should have hopped from Beth's blog to arrive here if you are following the links correctly.  Anyways here is my creation of which I used 6 squares.    


 With my MDF squares I created the framework for this little gift box, then I made & covered a box to fit inside the frame.  My first intention was to use this as a photo box for all the older square photos I have as I have left the smallest gap on the outside to slide in photos (and change when needed), but sadly the inside dimensions of the box are 'just' too small for storage - and the paper is much too pretty to hide.

 
I've used gorgeous corners & feet which I bought from Faith , follow this link to see all the yumminess she has for us all.  All the framework was given a couple of coats of glossy black paint.  The lid fits loosely on top.  

 
I've also used these gorgeous zipper flowers, small rosette roses, Imagine if . .  felt leaves, & corner flourish dotted with small flat back pearls.


This 'friendship' quote adorns the back side of the box, along with more rosette roses.  This quote is so fitting as this is a retirement gift for a friend.


From here to continue the hop take this link to see what the lovely Tash has made to share with you.  Its amazing what you can make out of offcuts isn't it?

Saturday, 23 August 2014

Creative Dreams Journals

The 12 months have run their course and I have now finished and returned my last art journal to its owner.  I have been showing you the pages monthly as I've finished them, but here I've brought them all together. 
Firstly here is my last page, which is in Louise's journal (I'm sure by now she will have received it).
 
This page started with gesso randomly splotched around the page thru a template to create a resist.  Next I glued on some ripped pieces of dictionary paper.  This all got a good coating of Dylusions Ink Sprays in several different oranges, pinks, yellows, greens.  I love the effect I've got here.  Once this was dry I got out my latest template to create the foreground (flowers & butterflies) where I used several different coloured Distress Inks.  This is the first time I've had the chance to use my Prima 'lady' stamp, which I stamped onto dictionary paper, then coloured with gelato's & cut out.  The house was created the same.  The bricks were created with a Donna Salazaar stamp & chalk ink.  I then stamped the wording & framed the pages with Dylusions stamps.
 
Here are the other pages, starting with my own book right at the beginning:


Wow what a lot of variation, I really did try to do something a bit different everytime, especially if there was no theme.  I am proud of what I've created and now can't wait to get into some more of the same sometime.
Thank you to all the ladies who have contributed their time and talent in my journal.  At the time of publishing this post sadly it has not returned home yet.  I wait with baited breath.