Showing posts with label gift box. Show all posts

Tuesday, 15 December 2015

Christmas Treats

Here's yet another special way to do gift boxes.  I'm sure you all know by now I LOVE making little gift boxes.  I've used this idea to quickly make lots of little boxes to give to all my friends at work.


I found this idea on Pinterest and followed the links to this awesome tutorial here.  I've made these for 6 men and 8 ladies, so wanted a fairly neutral paper collection to cater for both.  Here I've used 5 pages of Kaisercraft Silver Bells papers, which actually made 15 'slices' of cake. 

For the ladies I've used assorted rosette roses, pearls, rhinestones and the men got snowflakes.  Each box will be filled with about half a cup of homemade caramel corn.  Ribbon & string hold these boxes shut.

The caramel corn recipe I've used is very simple.  I use this same recipe to make ricebubble cakes:

100gm butter, 4tbs brown sugar, 1tbs honey. 
Put all in small saucepan and boil for 4 minutes.
Pour over 6 cups of popped corn
Mix thoroughly until all popcorn is coated.
Spread out on baking tray lined with baking paper and cook at 100 deg.C for 1 hour, turning every 15 minutes. 
Once cool toss well to separate all the corn.
Keeps for up to one week in a airtight container.

YUMMY


Now I just have to wait for next week before I can surprise everyone.  I hope you all have a safe and happy Christmas.

Monday, 9 March 2015

Shabby Chic Box

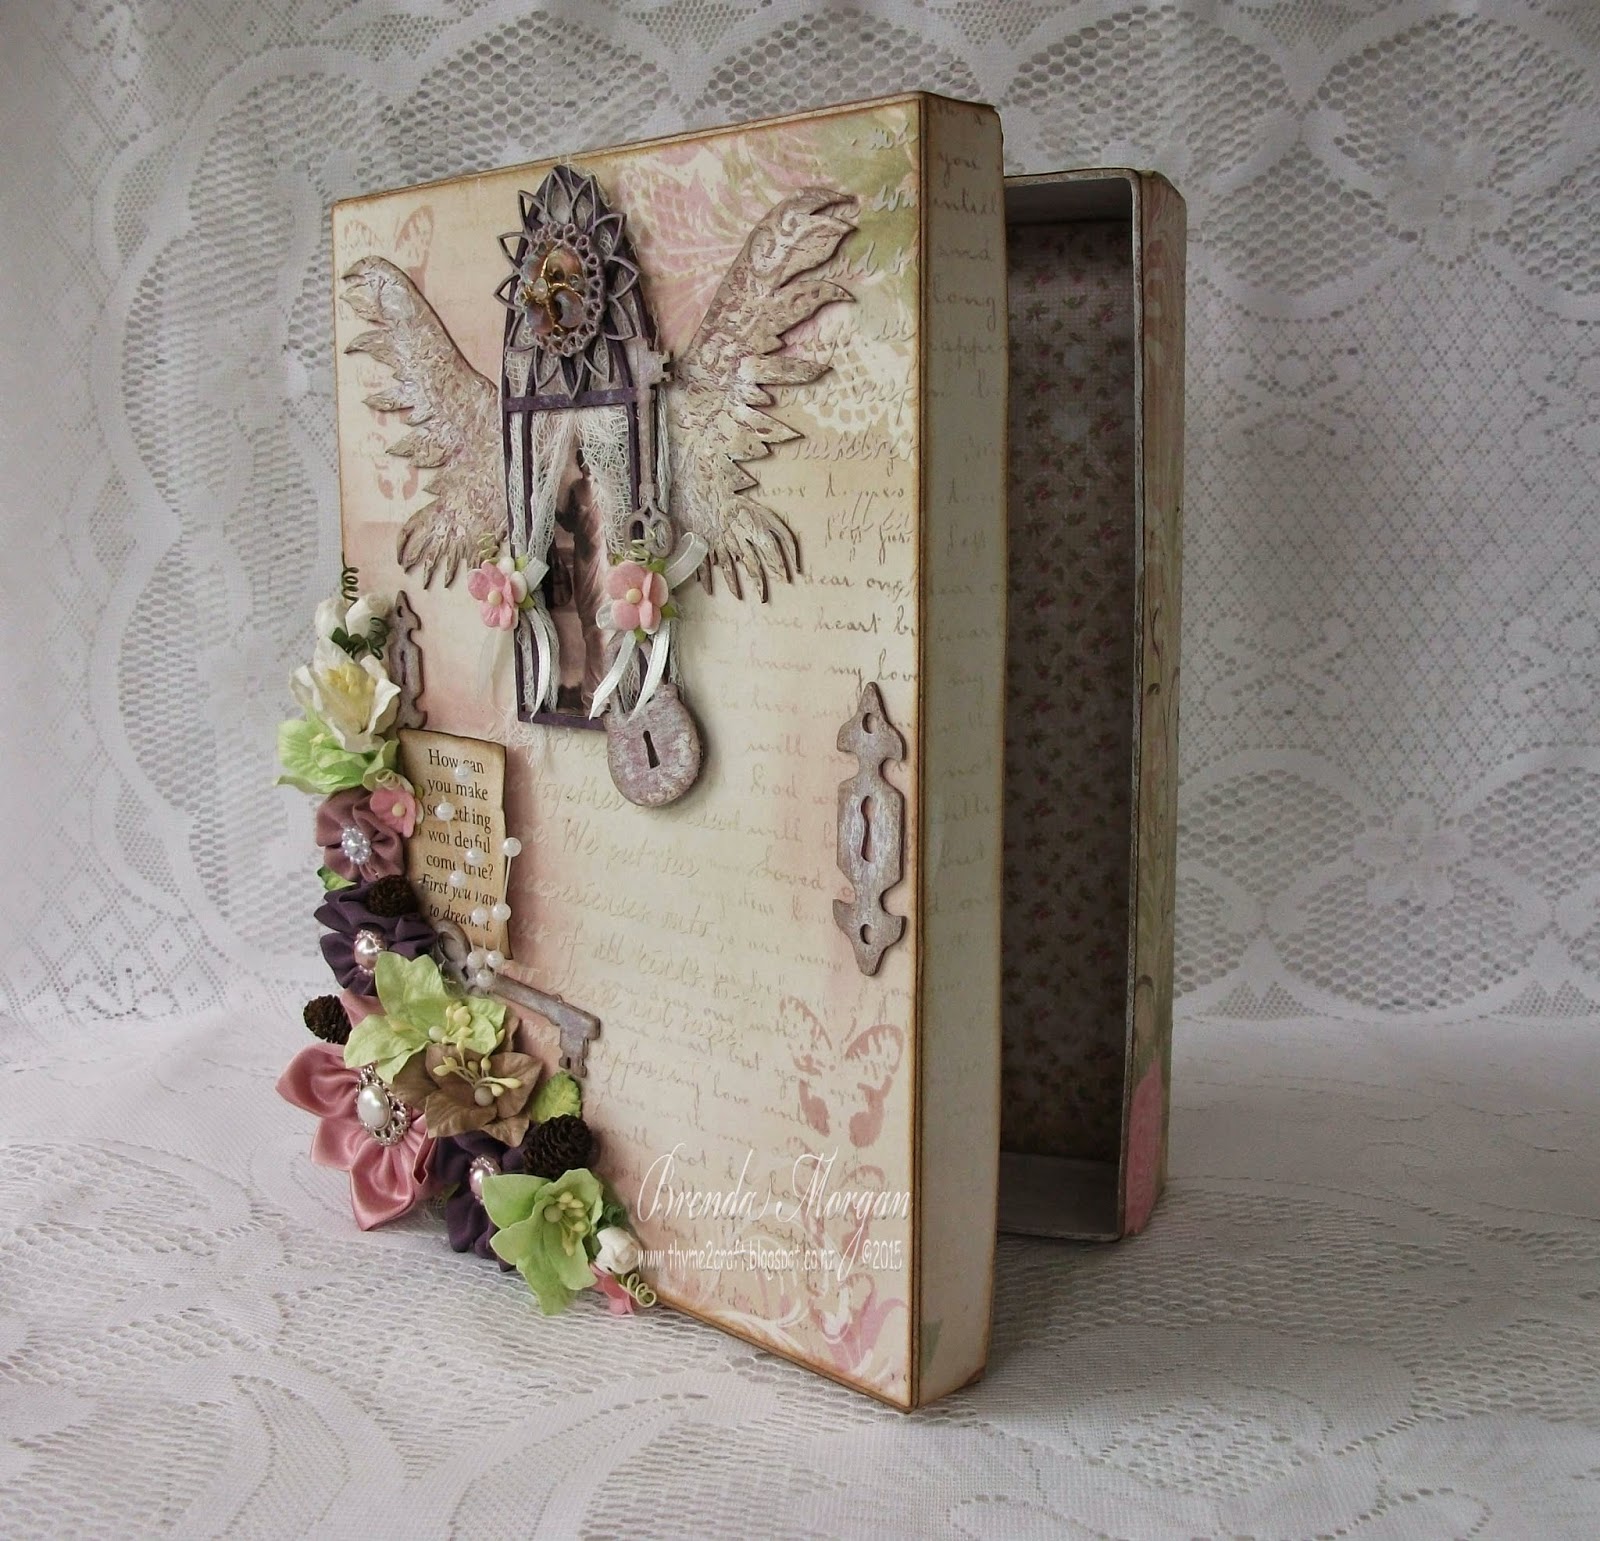
I've had a lot of fun creating this latest box, which was to be a gift for a friend, but as you would have it I've fallen in love with it myself so . . . .  I'll probably have to keep it for myself.


Here I'm showcasing lots of new pieces from Imagine if . . , and as usual this has finished up TOTALLY different to what I had in my mind at the beginning.

Kaisercraft 'Precious Moments' paper was perfect for the shabby look I wanted, this was inked with TH 'Walnut Stain', before it was attached, then I added a bit of texture with a bit of modelling paste thru stencils.  Here is all the 'bits' before assembly.


The gorgeous arched window frame received a coat of "Grape" paint, then was dry brushed with gesso.  The wings were embossed, then along with the remaining chipboard received various coats of brown & pink paints, then I applied the solution to 'weather' the paint before painting white.  This all then was inked again with TH Walnut stain. 
I've used a mix of handmade and I am Roses flowers along with muslim, leaves & cones to decorate the corner.  An old brooch was touched up with gesso before being added to the top of the arch.
 
Enjoy these close ups


I am entering this in the I am Roses monthly challenge, with I am Roses products used  lillies, buds & sweet little S10 blooms.
 
Imagine if . .  products used are  Arched window frame
                                                     keys & locks
                                                     wings
                                                     Quote sheet - Dreams
                                                     open flower
 

Thursday, 26 February 2015

Wine Gift Box

For todays Imagine if . .  DT project Jo has given me a MDF Wine Box to construct and decorate.  All the DT ladies were given different MDF projects to complete, so take a trip via the links at the Imagine if . .  blog to check these all out.


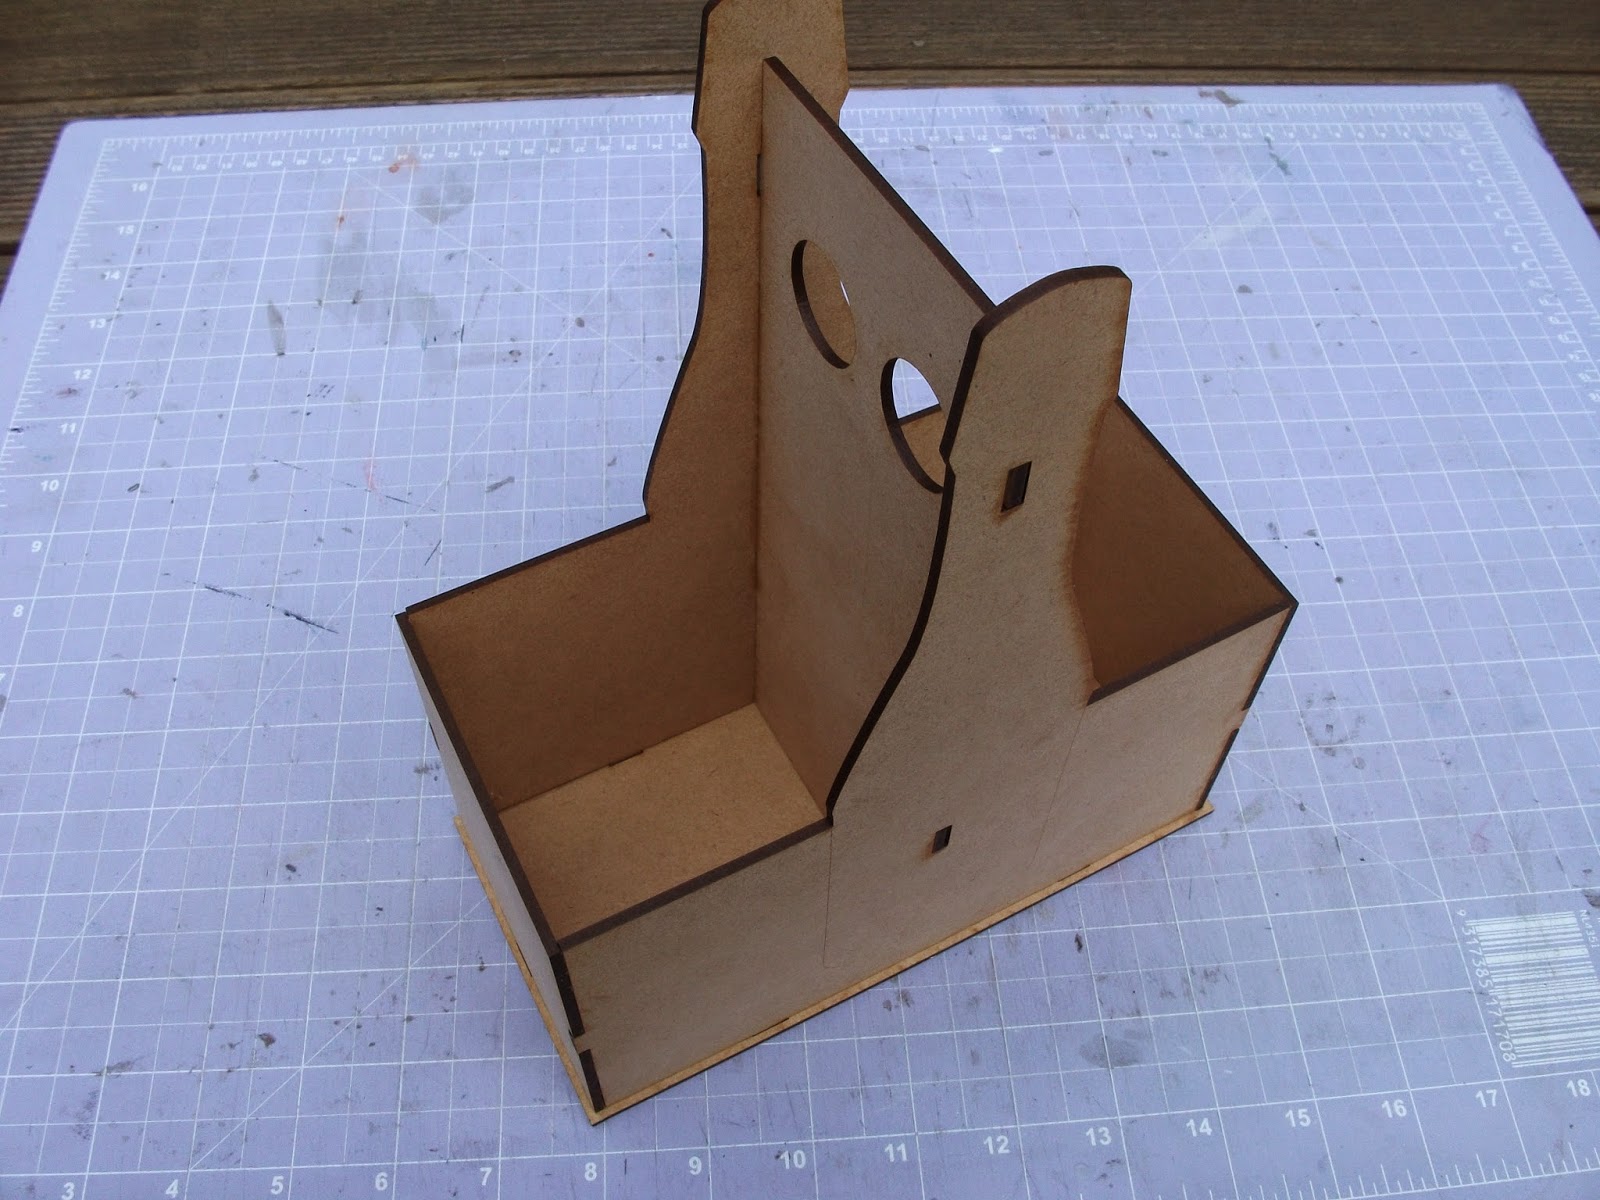
 Here is the start of the puzzle, but very easy to put together.


All glued together and ready for decoration


After I attached some 'bunches of grapes' (flatback pearls) the exterior was primed with a good coat of gesso

 
Tissue paper prepped and ready to attach 

 
Then the real fun began, attaching all the bits of tissue, which was mod podged in the appropriate places. 
 
Next I created bottles to attach up the middle.  I made these out of light cardboard firstly, then attached, so to have clearly defined edges.  The whole inside has been lined with burlap.
Enjoy these closeups of the finished project.


Imagine if . . product used are:  MDF wine holder
                                                   Quote sheet - Seasons in Time
                                                   felt leaves - spring set

Sunday, 7 September 2014

Giftbox for Marian

Todays creation is a challenge Jo put to the DT.  She supplied us all with 9 MDF squares and told us to 'go forth and create'.  I can't wait to see what the other girls come up with, something fabulous as usual I expect.  Again we are doing a blog hop which as usual starts with Jo,  you should have hopped from Beth's blog to arrive here if you are following the links correctly.  Anyways here is my creation of which I used 6 squares.    


 With my MDF squares I created the framework for this little gift box, then I made & covered a box to fit inside the frame.  My first intention was to use this as a photo box for all the older square photos I have as I have left the smallest gap on the outside to slide in photos (and change when needed), but sadly the inside dimensions of the box are 'just' too small for storage - and the paper is much too pretty to hide.

 
I've used gorgeous corners & feet which I bought from Faith , follow this link to see all the yumminess she has for us all.  All the framework was given a couple of coats of glossy black paint.  The lid fits loosely on top.  

 
I've also used these gorgeous zipper flowers, small rosette roses, Imagine if . .  felt leaves, & corner flourish dotted with small flat back pearls.


This 'friendship' quote adorns the back side of the box, along with more rosette roses.  This quote is so fitting as this is a retirement gift for a friend.


From here to continue the hop take this link to see what the lovely Tash has made to share with you.  Its amazing what you can make out of offcuts isn't it?

Monday, 18 August 2014

Gift boxes galore

Creating these little gift boxes is such a fun way to send off that little something special.  Both these boxes I'm sharing today are going to special people who deserve 'just a little bit more'.

 This first box is my entry into the August I am Roses whose theme this month is 'anything goes' and 'make something special for someone'.  How could I resist?


I love the vibrance of these colours, and the special person who is going to receive this was especially interested in the zipper flowers I have created, hence having one as the centrepiece.  There is also more partially finished zipper flowers inside along with a very detailed tutorial, so I'm sure she can now learn to make her own.  The I am Roses products I have used here are 1. daisy, 2. mini roses & 3. buds.

The recipient of this 2nd box is waiting for a recipe from me, so she is getting a sample as well as the recipe in this little keepsake box.  This is just a little thank you for the lovely afternoon and evening we spent at her hubby's recent birthday.


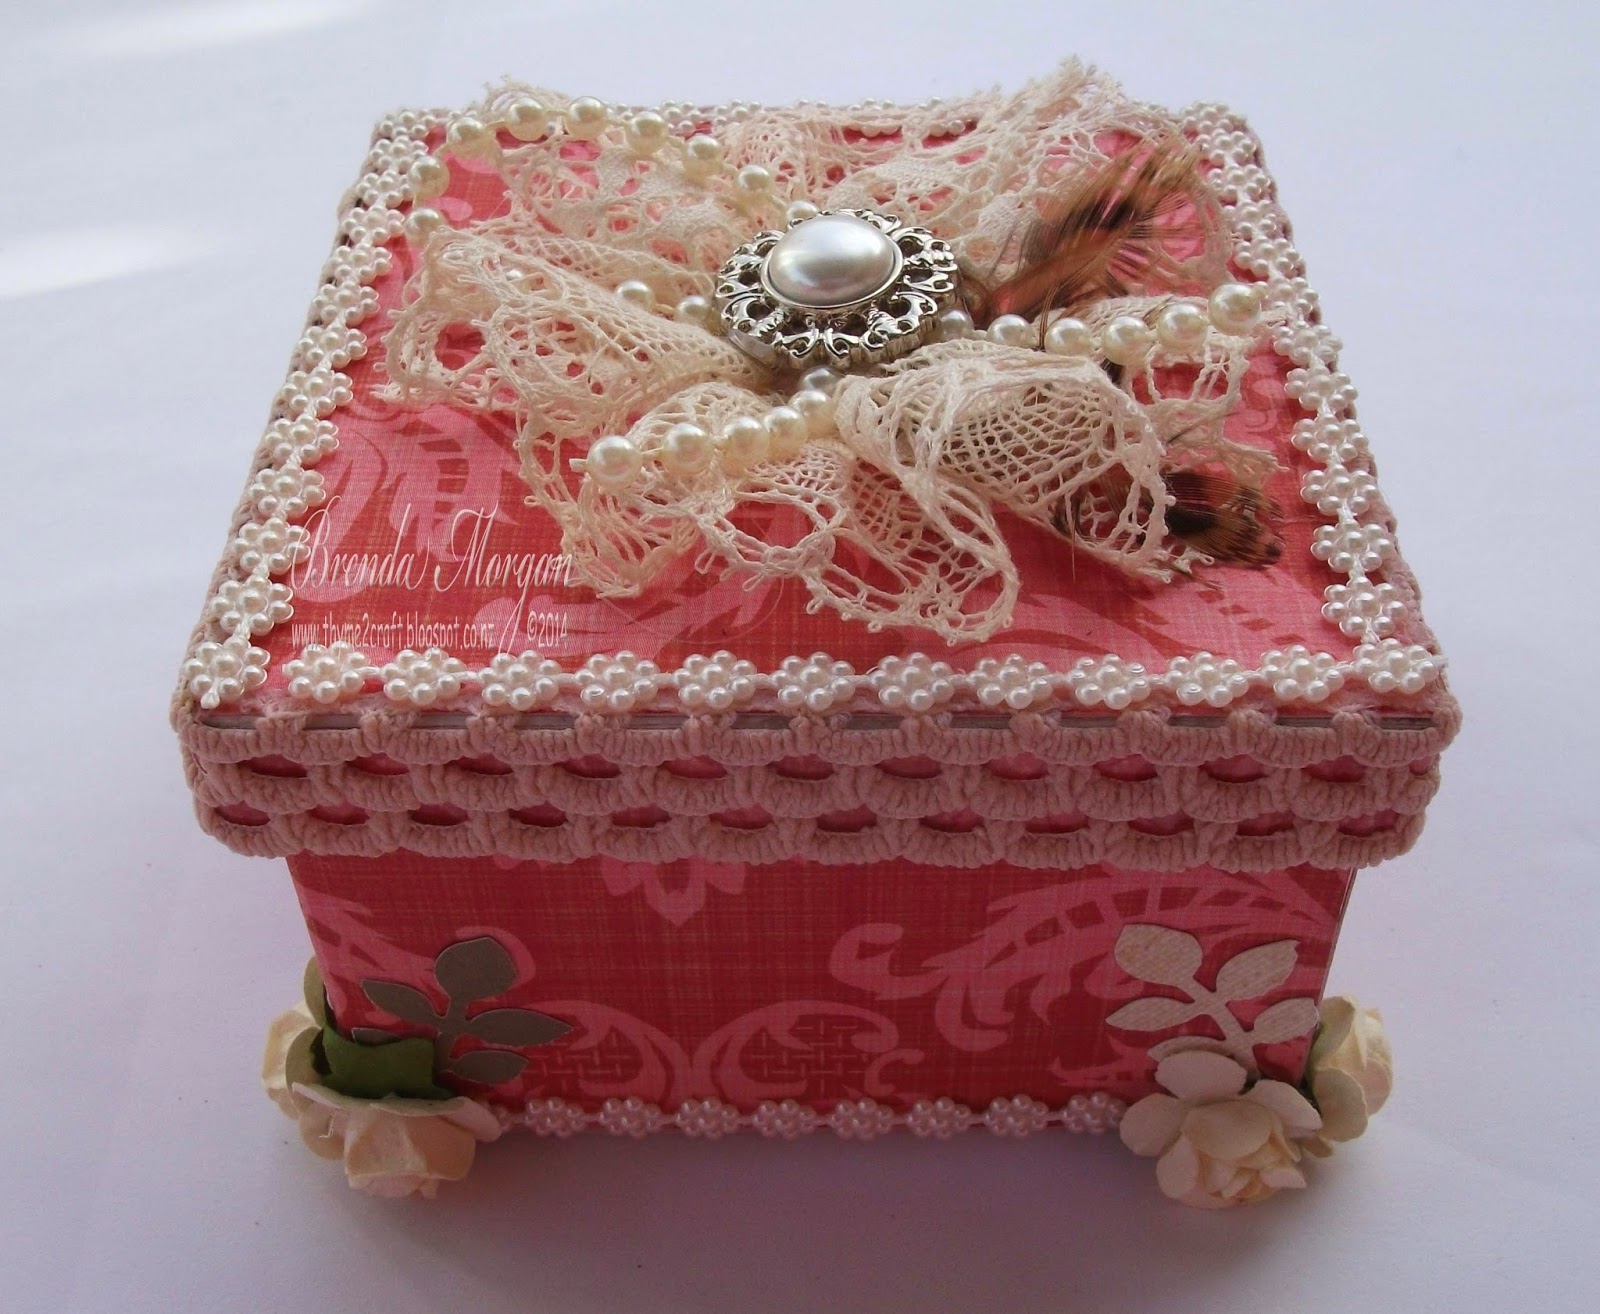
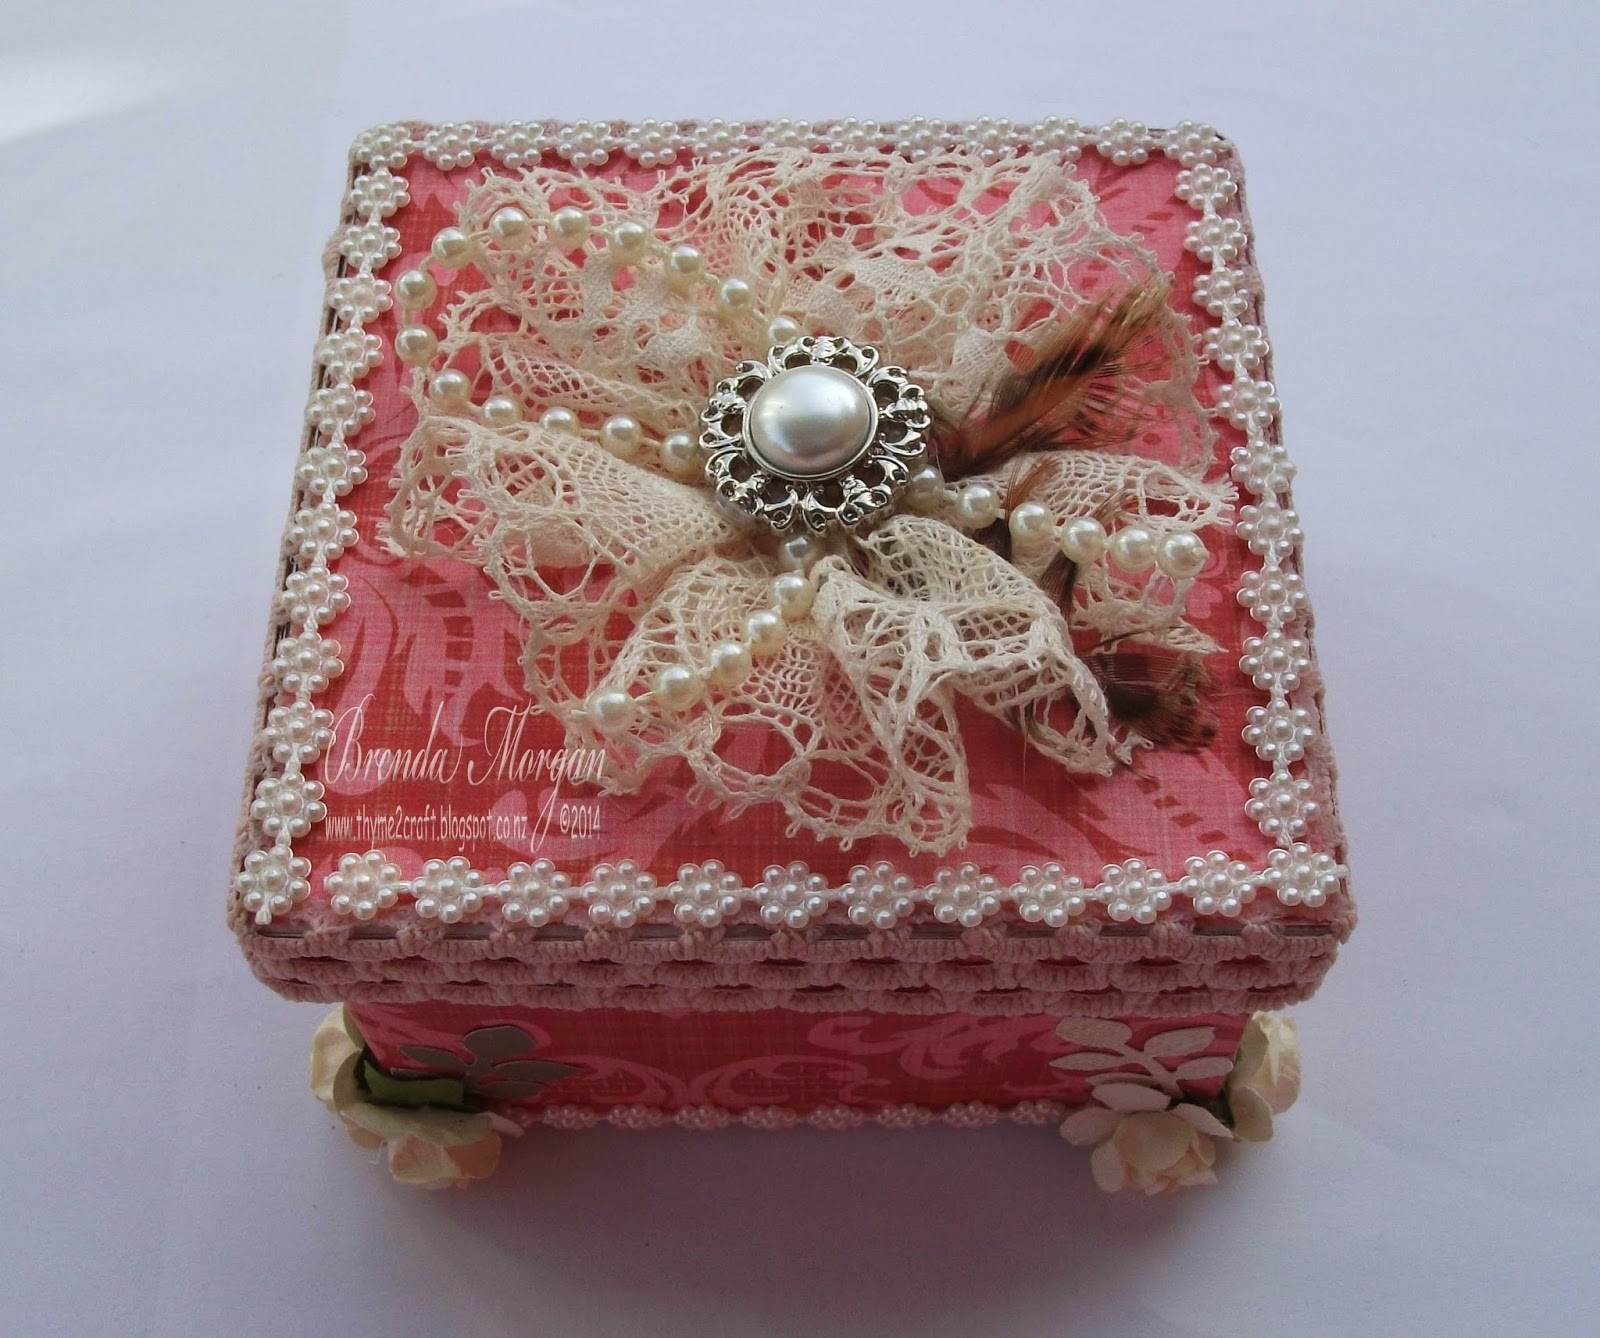
The paper I've used here is gorgeous, and used together with the pearl trim & flowers is perfect for the more mature lady I think.  I also made the lace flower on top.  I hope she likes it.

Thank you for visiting.  Wish me luck for the challenge as I would sooo love to win some of their gorgeous blooms, they are so versatile, I love to use them on everything I make.

Saturday, 5 April 2014

Apr. IAR Challenge

Here's another gift box I've whipped up full of Easter goodies, (and a few naughty bits as well) which I'm entering in the monthly challenge at I am Roses.  Surprise, surprise this month their theme is 'Easter', so we have to include eggs as well as their luscious flowers.

 
This paper mache box was first painted on the insides & edges, then covered with a DSD 'Truck in the Attic' paper.  Lace, doily, pearls and lots of gorgeous flowers decorate the exterior.  I am Roses flowers used include, Daisy's (in 3 different colours) little S-10 flowers and white buds.  I love these little S-10 flowers, they are so versatile.  The inside is packed with Easter eggs, grapes & a wee tipple, all under the care of this cute little bird.
 
Enjoy these extra photos from different angles and some close ups.


Do I need to tell you again how much I love making and gifting these little goodie boxes?  Such an easy way to give a gorgeous little gift without very much effort.  The recipient of this one is actually my postie, she is always sad when delivering me yet another parcel, so I'll surprise her with a small parcel of her own.  I'm sure she'll love it.
 
Thanks for visiting, wish me luck with this challenge.  Until next time have a happy, scrappy day.


Tuesday, 11 March 2014

Another Gift Box

It was time to send a friend some goodies, so I thought they would look much nicer packed up in a lovely little gift box, than just wrapped up in bubble wrap, what do you think?


Lots of 'softness' in these colours.  G45 Secret Garden paper used over a painted paper mache box, finished with luscious lace, pearls and some I am Roses flowers.  This was made in an evening.
 
I hope the recipient likes it as much as I do.  Thank you for visiting.

Saturday, 30 November 2013

Secret Santa sssshhhh.....

Time for another new challenge at Creative Craft Cottage and wouldn't you know it the theme is Christmas (of course).  Here I am sharing a secret santa gift box I have sent thru to another kindred crafty spirit in Australia.  It is, of course, full of crafty goodies.


I started with a paper mache box which I gesso'd, then painted green.  I then covered the outsides with santa serviettes.  I've finished with ribbon, bows, doily, xmas trinkets, and a handmade burlap flower (did I say how much I LOVE these???).  They are sooo easy to make, have a look here for easy instructions.
 
Please share your wonderful xmas creations with us and be in with a chance to win a lovely little prize.  As always, if you don't have a blog, feel free to email your entry thru to us.

Tuesday, 5 November 2013

Treats for Hospice

Didn't I say in my last post that I'm enjoying making these little gift boxes??? Well here is some more.  These were made as my contribution to a trading table to raise money for our local hospice.  Last weekend was the annual "House & Garden" ramble, with all proceeds going to Hospice, so when asked to help out on the trading table, how could I resist.

 
These are just little 3" square paper mache boxes which I painted on the inside and bottom, then covered with G45 papers.  To decorate I've used flowers, feathers, pearls, doily & string.  Inside the bottom is lined with muslim, then they have been filled with Roses chocolates. 
 
I asked $10 each for them, and believe it or not within an hour one lady came and actually bought the lot as she couldn't decide which one she liked the best.  
Woooo hoooo, didn't I do well.