Here's yet another special way to do gift boxes. I'm sure you all know by now I LOVE making little gift boxes. I've used this idea to quickly make lots of little boxes to give to all my friends at work.
I found this idea on Pinterest and followed the links to this awesome tutorial here. I've made these for 6 men and 8 ladies, so wanted a fairly neutral paper collection to cater for both. Here I've used 5 pages of Kaisercraft Silver Bells papers, which actually made 15 'slices' of cake.
For the ladies I've used assorted rosette roses, pearls, rhinestones and the men got snowflakes. Each box will be filled with about half a cup of homemade caramel corn. Ribbon & string hold these boxes shut.
The caramel corn recipe I've used is very simple. I use this same recipe to make ricebubble cakes:
100gm butter, 4tbs brown sugar, 1tbs honey.
Put all in small saucepan and boil for 4 minutes.
Pour over 6 cups of popped corn
Mix thoroughly until all popcorn is coated.
Spread out on baking tray lined with baking paper and cook at 100 deg.C for 1 hour, turning every 15 minutes.
Once cool toss well to separate all the corn.
Keeps for up to one week in a airtight container.
YUMMY
Now I just have to wait for next week before I can surprise everyone. I hope you all have a safe and happy Christmas.
Showing posts with label xmas. Show all posts
Tuesday, 15 December 2015
Thursday, 24 September 2015
Starting to think Xmas
My crafting time has been extremely limited this month now I've started back at work, so I've had to let a lot of my regular challenges go for the time being, sorry if you are one that I have been regularly supporting. Also I'm trying to get into my garden (between showers) and I've even been doing a bit of sewing . . . but that's another story.
One lovely lady I follow on facebook runs Krafters Cart NZ where she sells all sorts of supplies at great prices. Anyhow she is running a Xmas card challenge this month where I have entered this card.
I saw this amazing card while looking thru pinterest, and following the link given found a great tutorial here. It is in a foreign language but the drawing she has given is very easy to follow. Here is the pattern I used from the site, of which I tweeked a bit to create a 6" x 4" card.
The paperline I've used is the Teresa Collins 'Christmas Home' collection, gorgeous papers, and I love the quality of her papers. I hope this inspires you to start thinking xmas also.
One lovely lady I follow on facebook runs Krafters Cart NZ where she sells all sorts of supplies at great prices. Anyhow she is running a Xmas card challenge this month where I have entered this card.
I saw this amazing card while looking thru pinterest, and following the link given found a great tutorial here. It is in a foreign language but the drawing she has given is very easy to follow. Here is the pattern I used from the site, of which I tweeked a bit to create a 6" x 4" card.
The paperline I've used is the Teresa Collins 'Christmas Home' collection, gorgeous papers, and I love the quality of her papers. I hope this inspires you to start thinking xmas also.
Wednesday, 31 December 2014
Xmas shortbread
Sorry I've been away from here for a wee while, having a bit of a break from crafting to concentrate on my garden for a change. Everything has slowed down in the crafting world for a week or three, so its now catch up time.
Today I'm sharing with you the small xmas gifts I made for everyone at work.
The ladies were all given a small bag of homemade shortbread, while the men received 'Snowman Poop'. All were gratiously received. Below is the template to create the 'wrapper' around the shortbread, while many tutorials can be found on Pinterest for the Snowman Poop and others.
Fold at the dotted lines, then cut a 'window' in the front. Here I've used a Fiskars Oval template sized 2.0" x 2.5", then using a circle punch make a small slot for the plastic bag to slip thru the top. Attach the shortbread (or similar) then create the packaging around it. Decorate as desired.
Simple but very much appreciated, with minimal cost.
Sunday, 14 December 2014
Twelve Days of Christmas
Wow who would have thought, here we are with the last Imagine if . . blog hop for the year, and of course its our last chance to show off all the awesome Xmas goodies Jo has designed for us all. This time we are showing off either a chipboard book or a MDF box, all beautifully xmas themed. Not only are we sharing our creations with you we are running a wee competition for you all to WIN xmas goodies for yourself . . . but more about that later.
Time has been very much against me this week, so luckily the paper collection I've used in this book has made my life A LOT easier.
The G45 'The Twelve Days of Christmas' collection has been used throughout. I adore this collection which I bought last xmas with the idea of making xmas decorations for this year . . . no time for that option sadly. To accommodate the 3 double page spreads I actually removed one of the chipboard pages from the book, then created a pocket for the tags to slip into.
G45 has cleverly captured the spirit of this 'story line' well here with the design work on these pages, they have been ideal to create my tags with.
On the reverse side of the tags are the lyrics of some of my favourite 'non-traditional' xmas carols. Sadly my printer 'ate' one of the songs, and is still presently jammed with paper, I think due to this damp humid weather we are experiencing at the moment.
Lots of Imagine if . . chipboard and felt have been used to embellish this book. Apart from being a very rushed job, this has been a fun project to complete.
The competition I mentioned above is infact similar to the theme of this book. We are asking you to visit all the Design Team posts (as per usual) following our links provided and gather a clue from each site. . . . my clue is "2 running deer". When you have visited all the sites and have gathered all the clues, simply follow this link to the Imagine if . . facebook page and simply write "I WANT IT ALL". Leaving a comment at every visit I'm sure will increase your chances to win . If selected Jo will then ask you for all the clues, and you will WIN IT ALL.
Easy peasy, now for the necessary directions. Before me you would have visited Katrina and next follow this link to see what Ngaere has instore for us all this week.
Imagine If . . product used here are: stockings
chipboard book
felt xmas tree decorations
lettering
Thanks for visiting today and over the last year. Good luck with the competition.
I hope you all have a happy and safe Xmas and New Year.
Sunday, 7 December 2014
Stocking for Santa to fill
Jo threw us a real curve ball for this weeks blog hop, as in our box of goodies she sent was a burlap stocking in all its naked glory just waiting to be decorated. Oh dear, what to do ? ? ? After thinking long and hard I had several ideas going on in my head but when I actually sat down to attempt something nothing was working . . . duh! ! So off to my local Spotlight store with the idea to buy some red & white gingham for my next idea . . . came home with a bag full of other goodies and no gingham. This is what I ended up with after the rather shaky start.
The poinsettia was relatively each to make, follow the tutorial here and I found a easy to follow tutorial for the double bow on You Tube here.
This has been quite a tricky project to complete within the time frame I now have available at this busy time of year. I can't wait to see what the other girls on the Design Team have come up with on their stockings. If you are following the blog hop correctly you would have started with the newsletter from Jo, worked thru the girls to Carol before me, then follow this link to go back to the Lilian who is at the top of the list.
Imagine If products used: stockings
candles
frame
bows
gingerbread men, candy canes & santas hat
mini xmas tree
jandals
reindeer
We hope this has really put you in the xmas mood, as there's not too many sleeps to go now.
After stripes of fabric & trims coloured the background, I then added lots of Imagine if . . xmas chipboard pieces, along with ribbon, handmade poinsettia & gorgeous holly leaves.
This is the 'raw' product, which upon first sight was quite daunting.
Here is the stocking with the background stripes attached, now ready for the decorations. Everything was hot glued in place - I have a burnt finger to prove it.
Enjoy these close ups of the decorations.
The poinsettia was relatively each to make, follow the tutorial here and I found a easy to follow tutorial for the double bow on You Tube here.
This has been quite a tricky project to complete within the time frame I now have available at this busy time of year. I can't wait to see what the other girls on the Design Team have come up with on their stockings. If you are following the blog hop correctly you would have started with the newsletter from Jo, worked thru the girls to Carol before me, then follow this link to go back to the Lilian who is at the top of the list.
Imagine If products used: stockings
candles
frame
bows
gingerbread men, candy canes & santas hat
mini xmas tree
jandals
reindeer
We hope this has really put you in the xmas mood, as there's not too many sleeps to go now.
Wednesday, 3 December 2014
More Xmas cards
Believe it or not I've actually managed to find time to make a few more different xmas cards. Again I am entering them in another Artfull Crafts challenge, this time the challenge is for 'Fancy Cards', so this was a great chance to try something a bit different. As I'm sure you're aware I am not a card maker, so I really chuffed with how they have turned out (luckily I had the help of awesome tutorials to follow).
I followed a simple tutorial here. This awesome plaited card was actually very easy to make, using BoBunny card stock, burlap & G45 paper. Topped off with Imagine if candles and I am Roses flowers.
When I saw this awesome idea I just had to give it a go. Very easy instructions can be found here again using BoBunny cardstock and papers, Imagine if . . chipboard & Prima flower.
Come along to the Artfull crafts site and join in the fun, they are having a new challenge each week before xmas and there are lots of entries already.
Sunday, 30 November 2014
Xmas tree . . Oh Xmas tree
Yes I've really got into the xmas spirit now, making xmas cards, tree decorations, last weeks sleigh full of tiny parcels that needed creating and now finally here is my Xmas Tree. This awesome MDF tree stands just 8" (20cm) high and is part of this weeks blog hop at Imagine if . . . The second half of the design team are revealing these trees and the remainder are coming up with something else (its a surprise, so follow the links and see what they've come up with).
Here's what I have come up with:
Once the tree was assembled as below it was decorated with lots of Imagine if . .
chipboard pieces (also listed below). These were mostly painted, then finished with various coats of stickles, glossy accents, sharpie pen, glitter or ribbon.
This is what I started with:
Then I hot glued jisaw pieces all over
Once dried it got a good coat of gesso then several coats of green paint, finally the top coat is a Lumiere Metallic Acrylic paint - Metallic Olive Green, this is soooo luxurious and so much nicer in person.
It was fun putting all the decorations on, practice time for the real thing. Follow my links here to continue on the blog hop. Please leave comments at all sites, we love to hear what you think of our work. You would have visited Carol's tree before coming here, next person on the list is the lovely Tash who has come up with a real gem for you today.
Imagine if . . products used here are: MDF tree
jandals
santas hat
All products are proudly NZ made, and are available online or at the shop in Morrinsville. Please support our homegrown products.
Thursday, 13 November 2014
CAS Xmas cards
Everyone's starting to think about xmas, with many competitions and challenges to be entered. Here I've made some 'clean and simple' xmas cards to enter into a challenge with Artfull Crafts where they allow 3 entries.
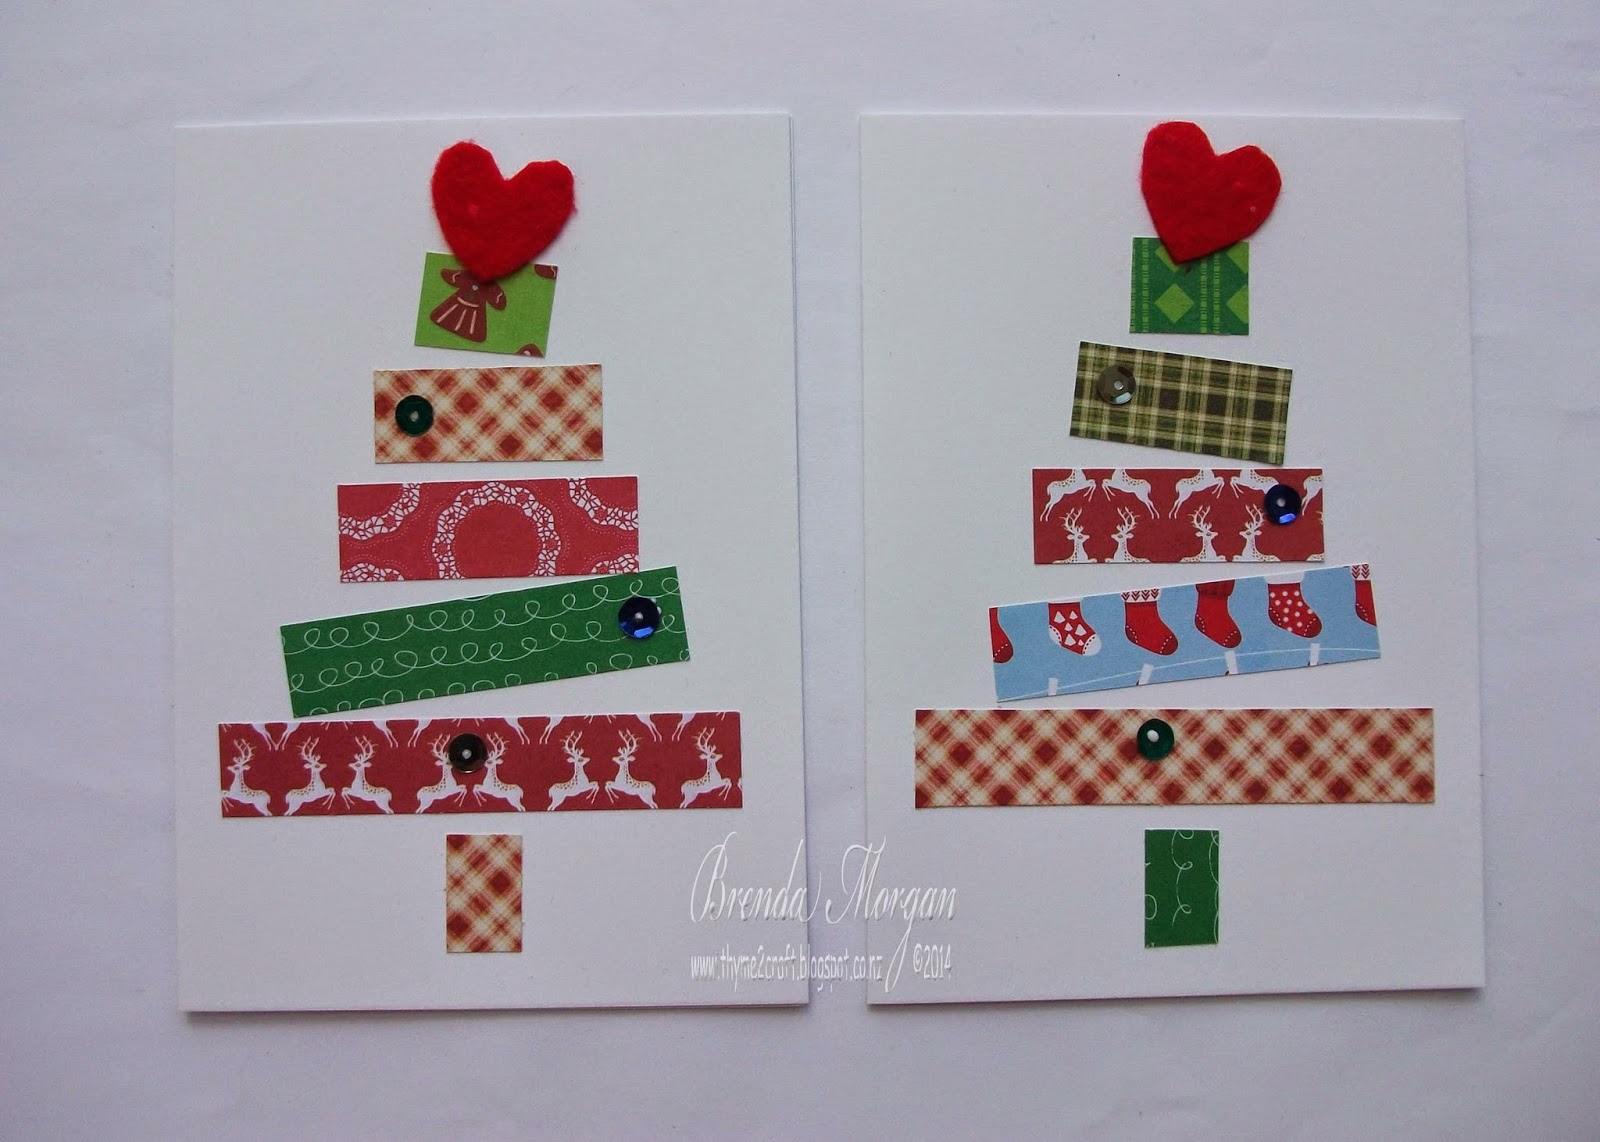
I've made several different colour variations of the same card. All 3 cards have been made using the same scraps from Kaisercraft Santa's List & G45 Twelve Days of Christmas collections. I love the origami xmas tree which was folded following simple instructions I found here .
Thank you for visiting, I hope this sends a little Christmas spirit your way.
Sunday, 9 November 2014
Watch out here comes Santa
The blog hop this week for Imagine if . . is more xmas fun, with the 2nd half of the DT (including me) showing you our sleighs, while the other girls have had fun making xmas cards.
I assembled the MDF pieces firstly, then painted everything black. Once that was dry I gave it a good coat of my new favourite product Crackle Medium, then followed with the red paint.
I just love the effect of this crackle medium.
The reindeer are xmas tree decorations, who are doing a stellar job 'pulling' the sleigh.
Presents galore, again some are just xmas tree decorations, while others are Imagine if . . chipboard pieces, painted and coloured.
Thanks for visiting, if you are following the blog correctly you would have come here after visiting Carol's sleigh and to keep on track keep going to visit Tash with her amazing sleigh.
Let us know what you think by leaving a comment, we've all had fun making these, why don't you try. These and lots of other xmas goodies (MDF, chipboard & felt) are all available from Imagine if . . and all are proudly NZ made.
Sunday, 2 November 2014
Meeting Santa
Oh dear everyone is now starting to talk about Christmas . . . . I am not even in that mind set yet. So when I received my latest pack of goodies from Jo at Imagine if . I had to quickly put my denial aside, grab the bit between my teeth and embrace the fact that there's only 2 months left till the end of yet another year. Jo has sent us all lots of xmas goodies to show you all, so get ready to be 'wowwed'.
I've started off with a xmas layout using a lovely photo from last xmas, showcasing the awesome chipboard 'Santa's sleigh and reindeer' pieces.
If you are following this blog hop correctly you should have come to me from Carols awesome xmassy layout and next follow this link to visit Tash with her gorgeous creation
I've started off with a xmas layout using a lovely photo from last xmas, showcasing the awesome chipboard 'Santa's sleigh and reindeer' pieces.
I started with a Kaisercraft Christmas Basecoat paper, then layered on lots of gorgeous G45 Twelve Days of Christmas papers, following this sketch which was the October LO sketch challenge at Artfull Crafts (which I entered AND won)
As I am no artist I simply gave the chipboard a weathered, aged look using a fab new product I've come across 'Ceramcoat' Crackle medium - I LOVE IT, and its so easy to use. Watch out you will be seeing a lot more of it in the future.
This flower stalk is a gorgeous Prima product which I beheaded, then painted to suit. The little cones I found on the roadside, have been painted, then finished with a bit of gold stickles which sadly is not showing well in this photo. The large flower is from BoBunny. All the different layers were hand stitched as well.
If you are following this blog hop correctly you should have come to me from Carols awesome xmassy layout and next follow this link to visit Tash with her gorgeous creation
Monday, 16 December 2013
Angelic . . . . NOT
Today I've had my teeth into another layout. Here are two little rascals, Jack and Harry - my English girlfriend's grandsons. This photo is a real miracle as little Harry cannot sit still for more than 2 seconds, and I am told big brother Jack insists on poking his tongue out for photos. Here they are posing for their Christmas photo, so I hope I have done the photo justice.
Here I used two of the same photo, the 1st in colour and the 2nd black & white. I started by distressing my Kaisercraft paper, then started my layers. I used old music paper, burlap, drywall tape & muslim under the photos, then added lots of handmade burlap roses, random flowers from my stash, all on top of a lovely little doily. I've also used lots of Dusty Attic chippies, DA0729 Branches & Berries, DA0476 Mini words #2, DA0435 Decorative Flourish, which have been finished with gesso, paint, texture paste, stickles & glossy accents. I've finished it all off with some pearls and charms.
This is the Dusty Attic monthly sketch I have followed. I will be entering this layout into the following challenges:
Dusty Attic - monthly sketch layout
Artfullcrafts - christmas layout ****WINNER****
Lets Craft & Create - lets celebrate (xmas)
SEM - Christmas
Thank you for visiting, I hope all my friends in Britain like what I've done with their precious boys. I hope you all have a very happy and safe Christmas.
Subscribe to:
Posts (Atom)


.jpg)


